This is part three of a three-part series covering installation of Windows Server Technical Preview with Active Directory in a Hyper-V virtual machine. Part one covers configuring the virtual machine. Part two covers installing Windows Server. Part three covers installing Active Directory.
Part Three: Install Active Directory on Windows Server Technical Preview in Hyper-V virtual machine
With part one and part two completed, you should have Windows Server Technical Preview installed and running in your Hyper-V virtual machine.
Prior to installing Active Directory services, you should name your domain controller the same name you gave the Hyper-V virtual machine, then peruse my post on tasks for new windows 2012 servers. Any tasks aside from those that require joining or being part of a domain should be done for this server. Be sure you load the recommended active directory tools when you install the RSAT Remote Server Administrative Tools.
https://techtips.tv/windows/15-tasks-for-new-windows-2012-servers/
Configure the server with a static IP address.
Determine your internal domain name. Keep this in mind:
Do NOT use the .LOCAL or any other invalid top level domain name for your internal domain. This can not only cause issues with zero configuration devices, but after October, 2016, it will be impossible to obtain a SSL cert for your internal servers. More information here.
Run PowerShell or PowerShell ISE as an administrator.
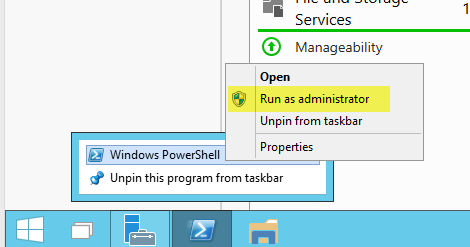
Run PowerShell as Administrator
Run the command to install Active Directory
Install-WindowsFeature AD-Domain-Services –IncludeManagementTools –IncludeAllSubFeature
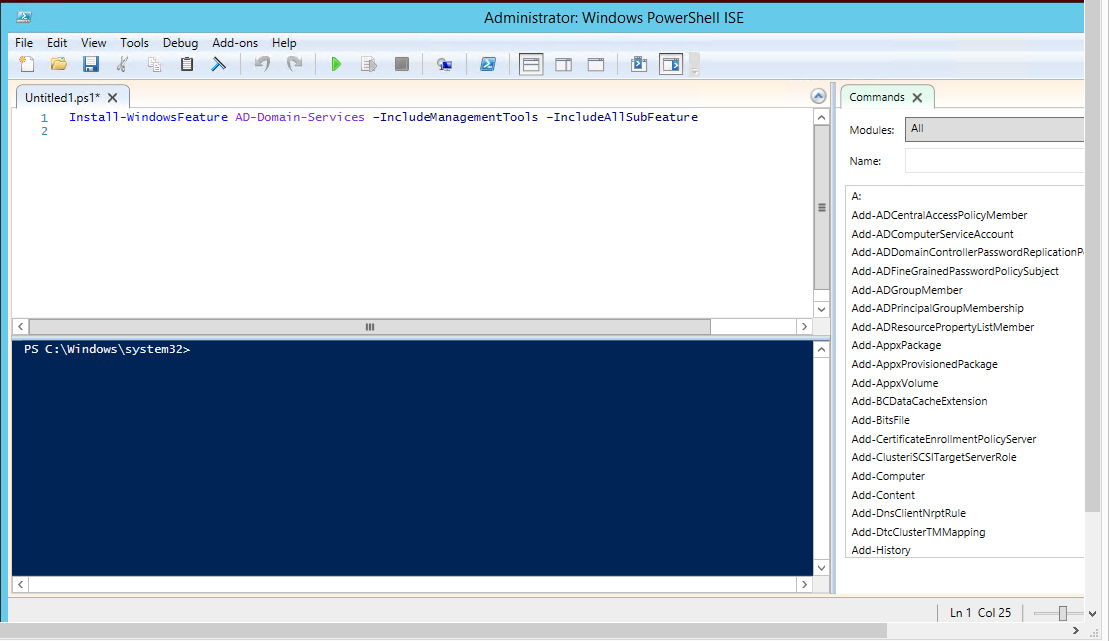
PowerShell Install Active Directory
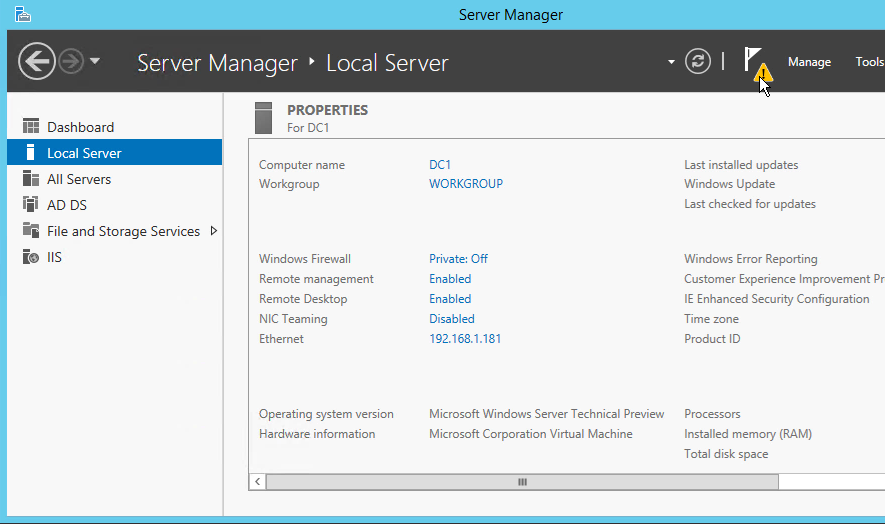
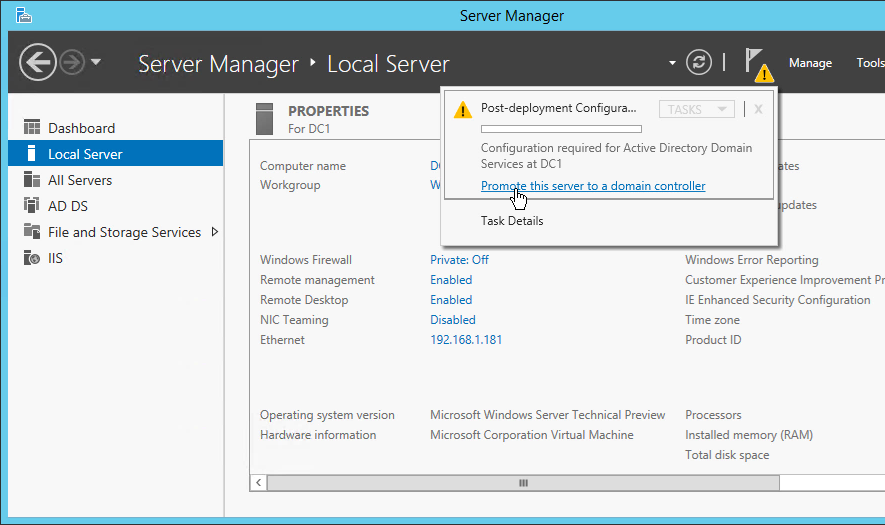
Once this completes, run the post-installation configuration by launching Server Manager, then selecting the triangle next to the flag.
Click the link, “Promote this server to a domain controller” in the Post-deployment Configuration Window.
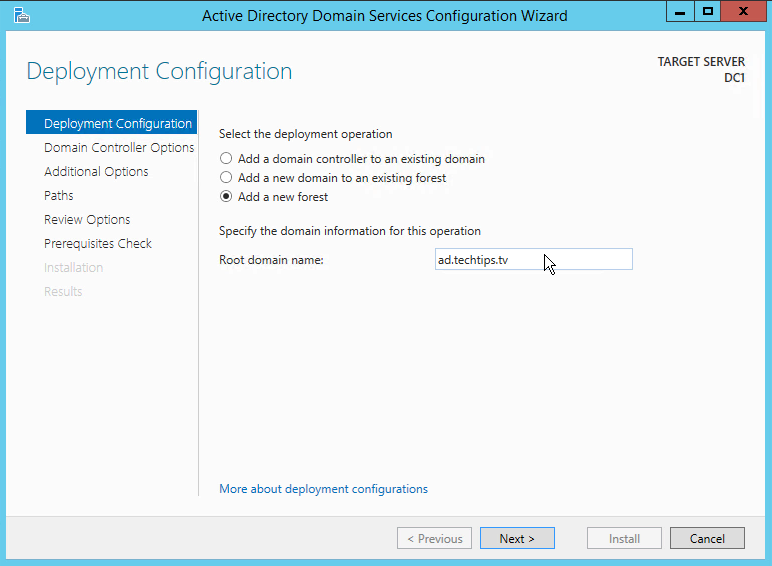
Select “Add a new forest,” then enter your root domain name. As stated in the note above, this should be an Internet route-able domain name and not a made-up domain such as .local. In this example, I used the sub-domain “ad” in front of techtips.tv.
Please note that you need to make a DNS entry to delegate your sub-domain. The steps for this depend on what name server you are using. Here is an example if GoDaddy hosts your primary domain: http://networkhobo.com/2014/07/22/godaddy-delegate-subdomain-to-different-nameserver/
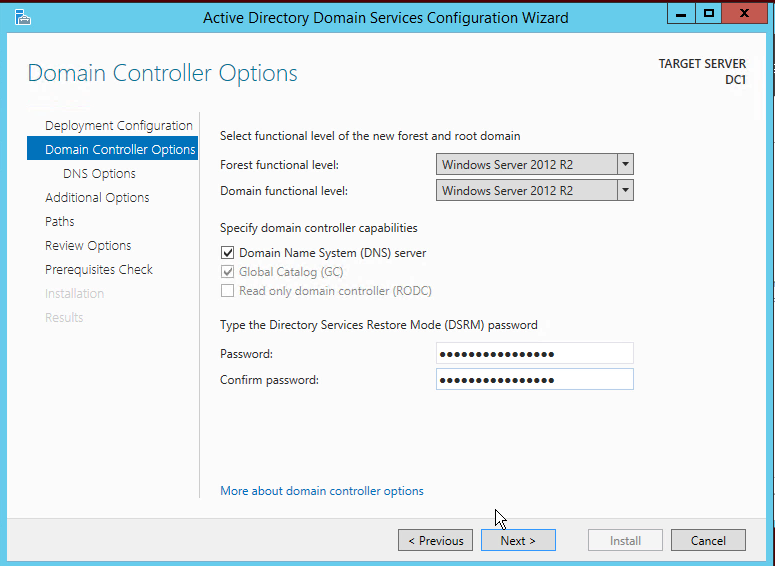
For Windows Preview, this still shows the Forest and Domain functional level as Windows Server 2012 R2. This will change when Windows Server and Windows 10 officially release.
Your Directory Services Restore Mode password is extremely important! You need to make sure you do not forget or lose it. I recommend writing it down and putting it inside a sealed envelope, then putting that inside a fire-proof safe.
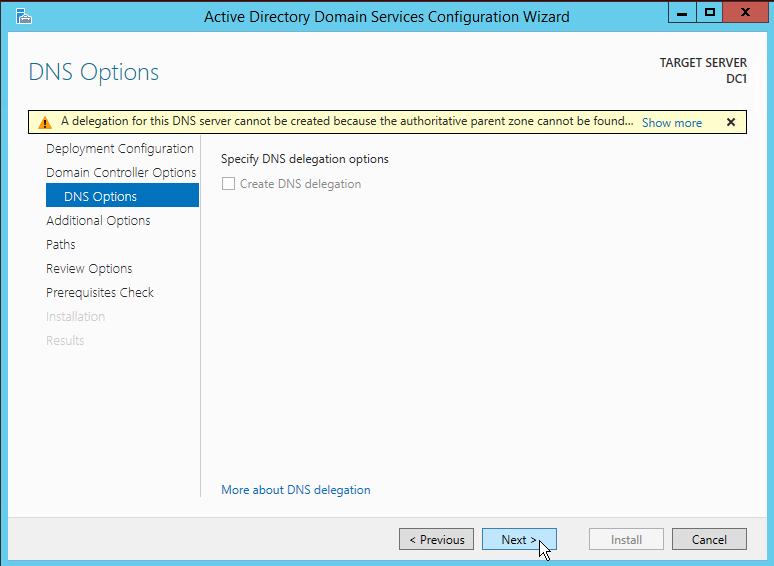
Your internal DNS should not be publicly accessible on the Internet. I recommend setting up a split DNS. You will see the warning message because there is no delegation record from the Internet to your DNS server. You can safely ignore it.
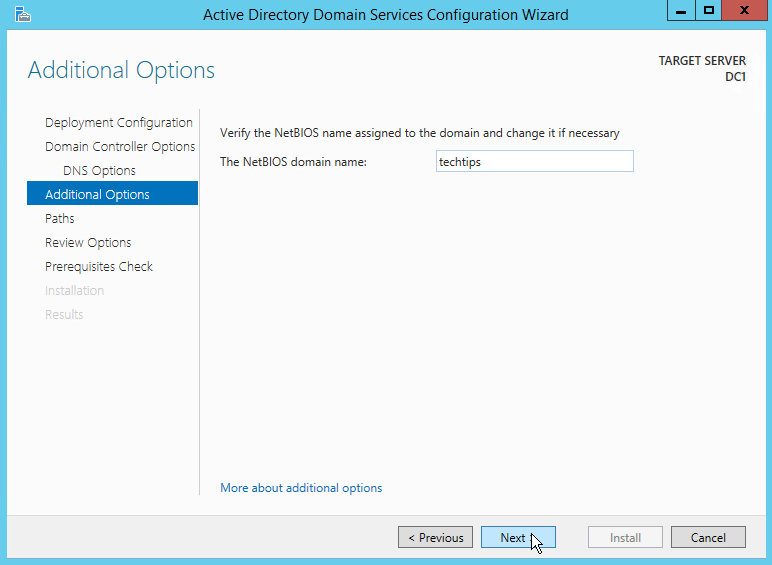
You can put any NetBIOS name you want for your domain. It defaulted to “ad” because it picked it up from the root domain name. I changed it to “techtips” so it would reflect my domain.
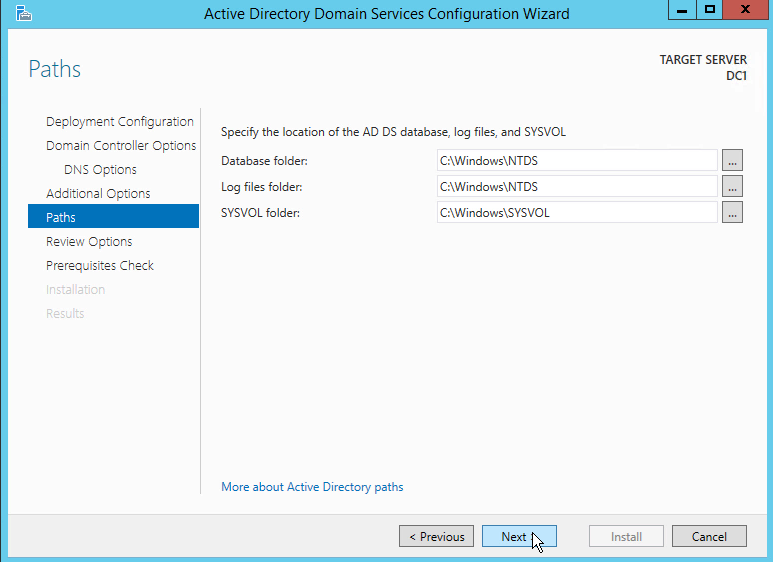
If you have a partition separate from your windows drive, you can put AD on it here.
Review your options and confirm everything is correct.
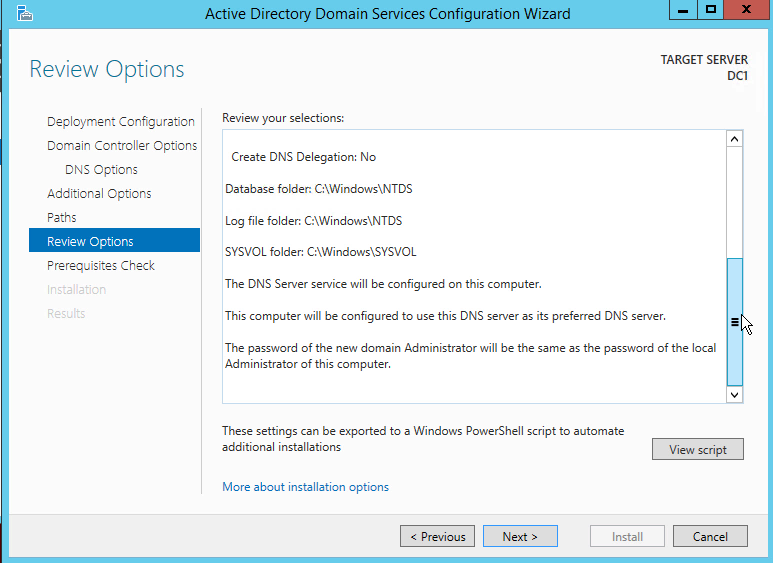
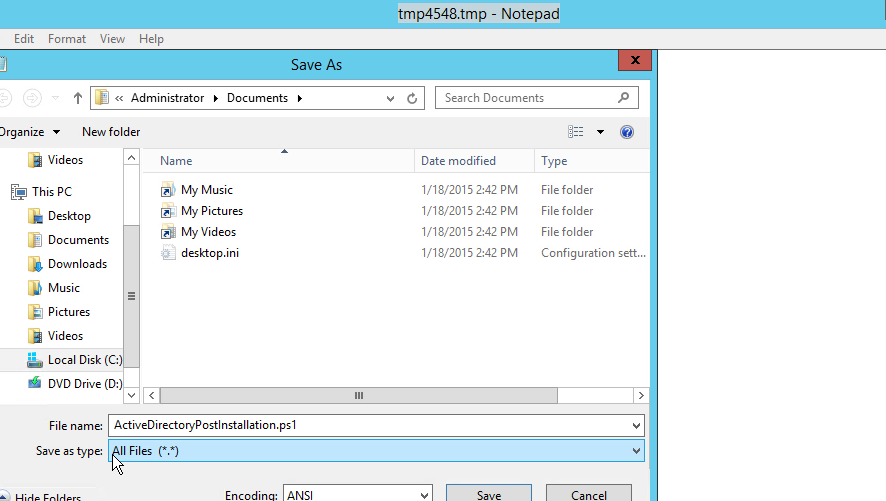
Select the “View Script” on the above screen, and it will bring up the PowerShell commands you just built by going through the wizard. I recommend you save this file so you have a permanent record of how you built your Active Directory. You can also use this if you build a duplicate test environment.
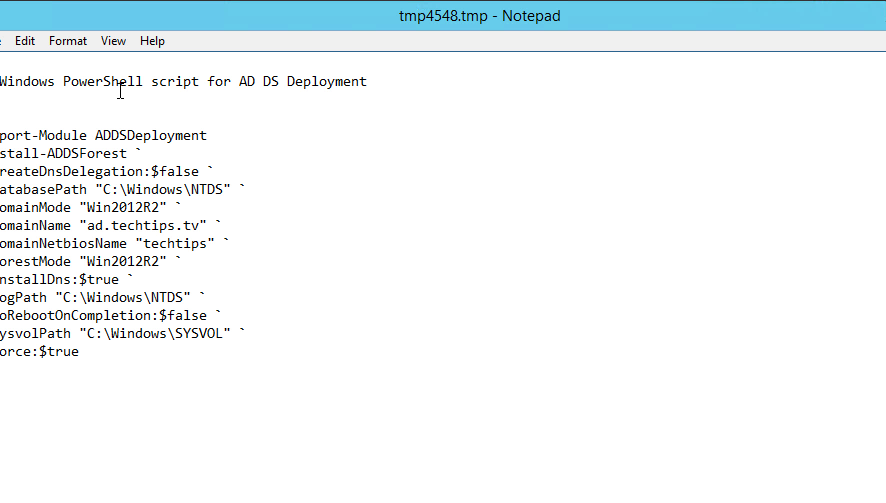
When you save the file, you need to change the extension to .ps1. Don’t forget to change the save as type from .txt to all files.
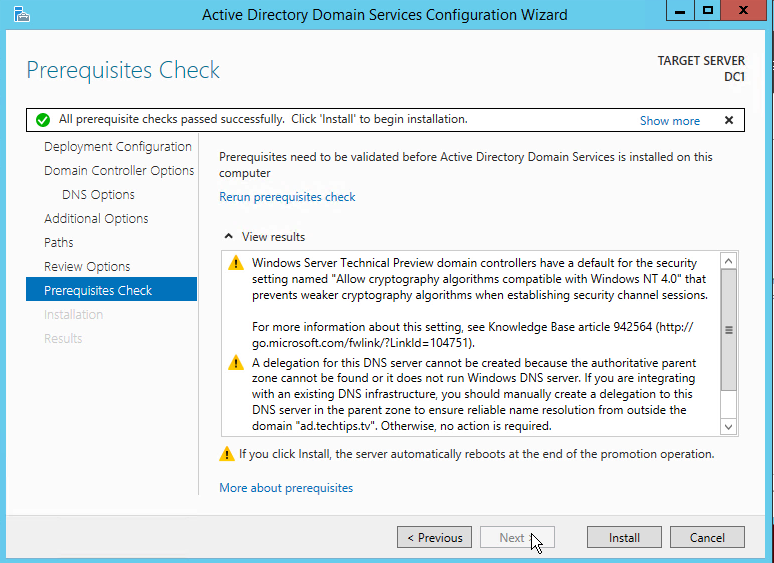
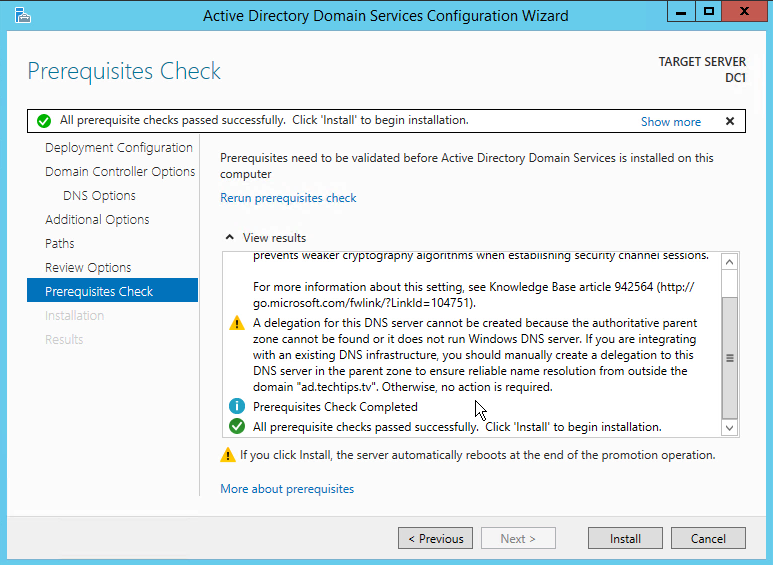
Once you have passed all prerequisites, begin your installation.
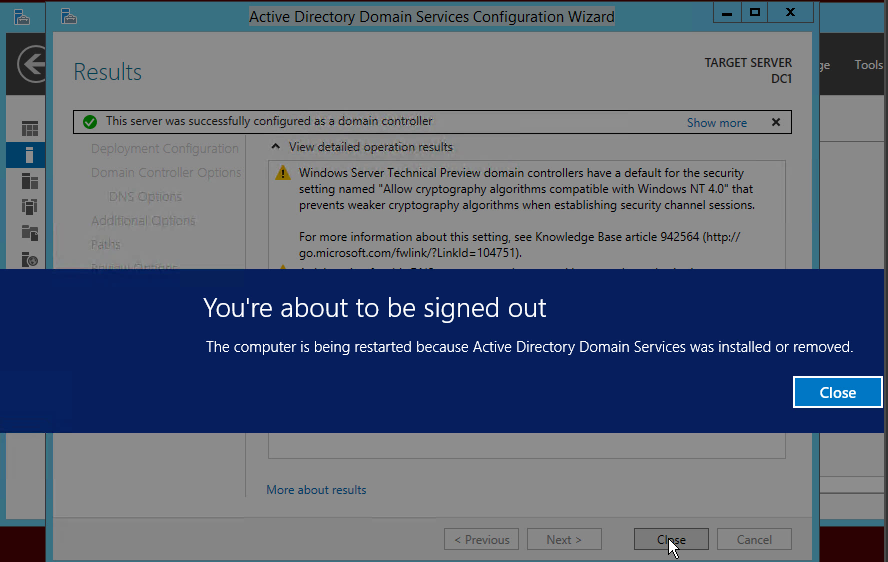
Select “close” to begin the restart process.
Your initial password is the same as your local machine Administrator’s password.
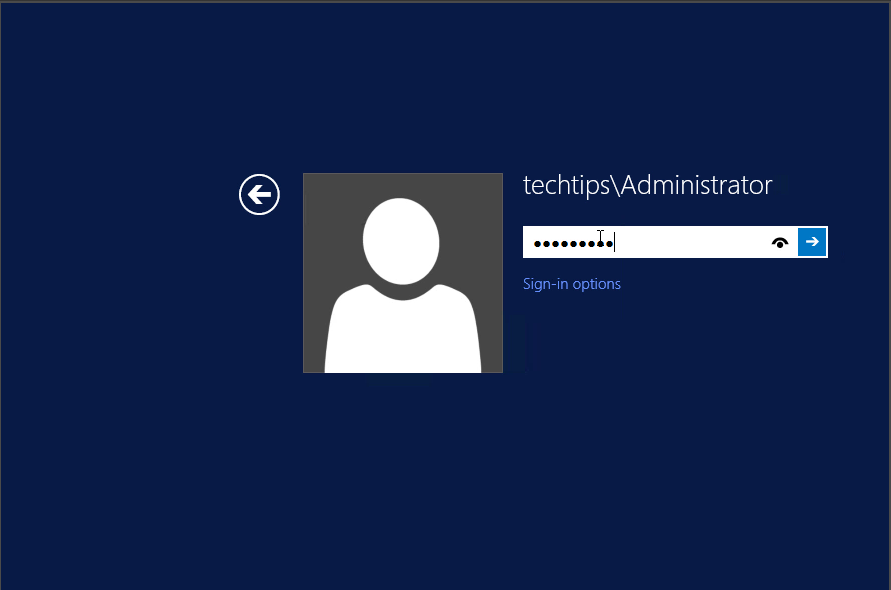
You will be prompted to change your password. Change it and log on to the domain for the first time.

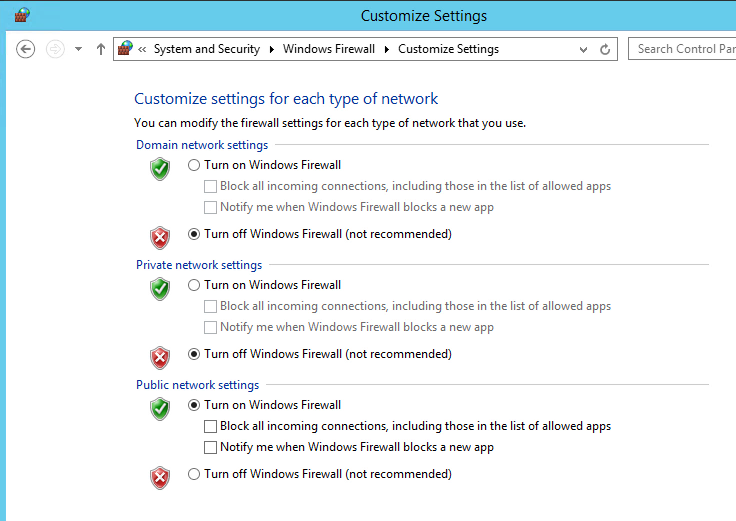
Turn the firewall off for the domain.
Look at the Server Manager Local Server screen and verify your domain shows up correctly. In this example it is ad.techtips.tv.

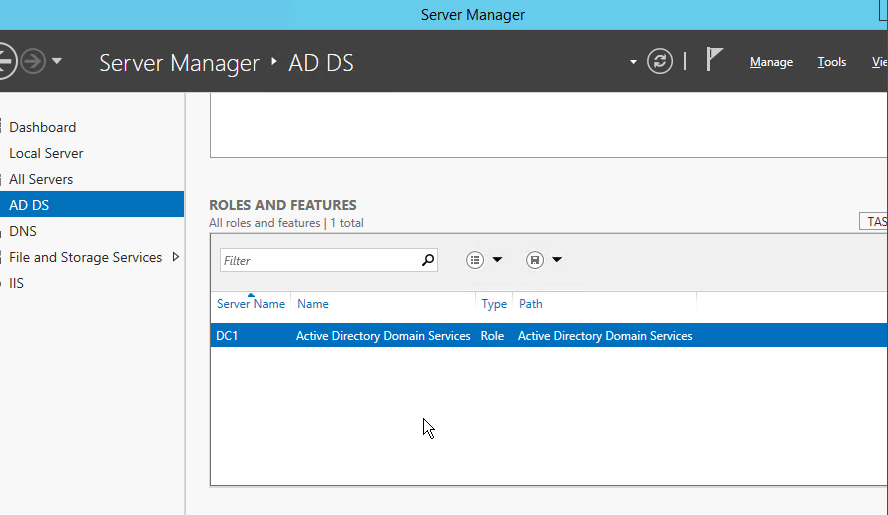
If you select AD DS and scroll down to Roles and Features, you will see your server running the Active Directory Domain Services role.