There are two common issues when binding SSL certificates on IIS: disappearing certificates and certificates that error when binding SSL. I am working on Server 2012 R2, but this issue can occur with older versions of IIS too. This post, “SSL Errors Part 1,” addresses the first issue: the disappearing certificate.
Steps to reproduce:
You create a certificate or purchase one from a certificate authority. Open IIS manager, highlight the server name, and open “Server Certificates.” Select, “Complete Certificate Request…” and choose your certificate file.
Give it a friendly name, leave it as personal, and select the “OK” button. Your certificate installs and you receive no error.
Select something else such as “Sites” or “Default Web Site,” then select your server name again and open Server Certificates. Your certificate is gone.
This occurs because there is something wrong with your certificate, such as a missing public or private key. At this point, your best bet is to have the certificate reissued.
You should also launch certificate manager (Manage computer certificates on Server 2012 R2), and delete the orphaned certificate.
If this does not fix your issue, it may be that requesting the certificate differently will fix it. If you typically use a PKI server and go to https://servername/certsrv to request your certificates, then a slight change to your procedure can fix the problem.
Before going to your pki server, go to IIS Manager, highlight your server, and select “Create Certificate Request…”
Copy the encrypted content of the text file to your clipboard. (Note: Do not copy the first and last lines labeled BEGIN and END NEW CERTIFICATE REQUEST. You only want the encrypted content between those lines.)
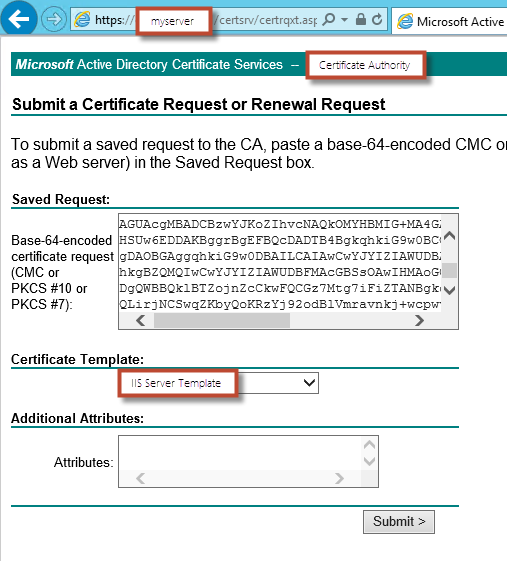
Go to https://servername/certsrv and select “Request a Certificate.”
On the next screen, choose “Submit a certificate request by using a base-64-endoded CMC or PKCS #10 file, or submit a renwal request by using a base-64-encoded PKCS #7 file.”
Paste the encrypted content into the “Base-64-encoded certificate request box and submit it.
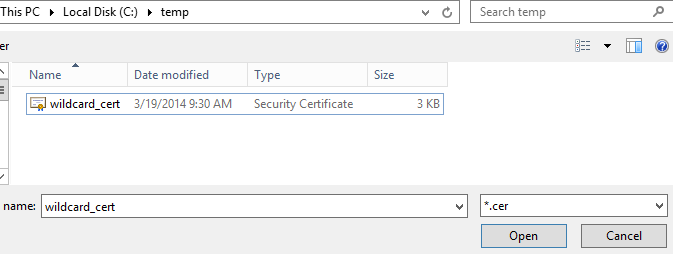
Download your certificate .cer file.
Select “Complete Certificate Request…” and continue with your certificate installation.
Note that after importing, you can tell if it worked correctly by checking to see if you have an “Export…” option between “View…” and “Renew…”
Let me know if this helps you!


