
You can set a Microsoft SQL database to read-only using either the GUI or a command line. Complete command-line steps are provided below, including steps you should take to prepare your database. Alternate GUI instructions are provided in the step to change the database to read-only.
Note: Read-only mode is not available on an Azure federated SQL database.
- Optional Prerequisite: Confirm database is in read-write mode.
- Optional Prerequisite: If users will be querying your read-only database, you should update statistics before putting your db in read-only mode.
- Prerequisite: You must be the only user attached to the database. To ensure this, you can set it to single-user mode.
- Command: Use command line or GUI or put your database in read-only mode
- Post Requisite: Set your database back to multi-user mode
- Optional Post Requisite: Confirm read-only and multi-user modes are set correctly
1. Optional Prerequisite – Confirm read-write mode:
The query below will show you the read-write status of all your databases. The result is 0 if it is read-write and 1 if it is read-only.
use master

go

select name, is_read_only from sys.databases

go
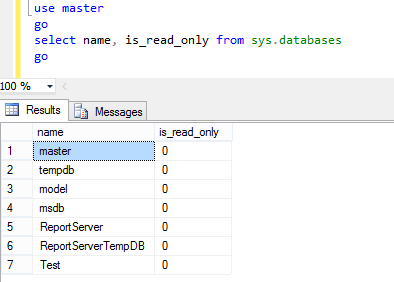
Current Status
2. Optional Prerequisite – Update statistics:
The following command will update and optimize the query statistics on your database. Be sure and change “YourDatabaseNameHere” to your actual database name.
use YourDatabaseNameHere

go

exec sp_updatestats

go
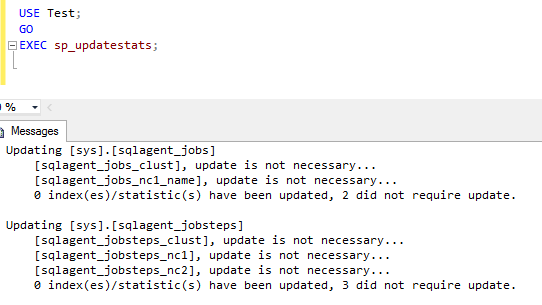
Update Statistics
The test database I created above did not require any updates. Here is a an example from a production database that had a mix of updates required.
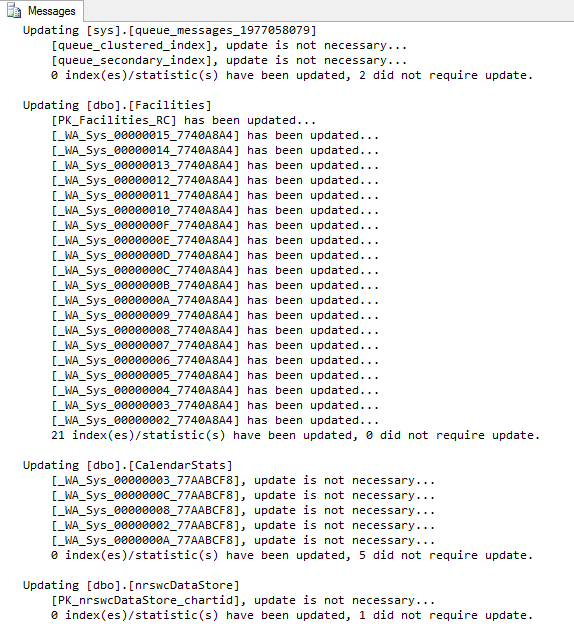
Update Statistics Example
3. Prerequisite – Set single-user mode:
The following command will set your database to single-user mode, cause all incomplete transactions to be rolled back, and any other connections to your database will be immediately disconnected. Be sure and change “YourDatabaseNameHere” to your actual database name.
use master

go

alter database YourDatabaseNameHere

set single_user with rollback immediate

go
You should see one of these results:
* Command(s) completed successfully.
* Nonqualified transactions are being rolled back. Estimated rollback completion: 100%.
4. Command – Set database to read-only:
The following code will put your database in read-only mode. Be sure and change “YourDatabaseNameHere” to your actual database name.
alter database YourDatabaseNameHere

set read_only

go
ALTERNATE GUI INSTRUCTIONS:
For the GUI, go to database properties, select options, scroll down to state, change Database Read-Only from False to True.
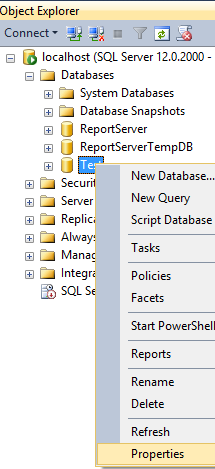
Database Properties
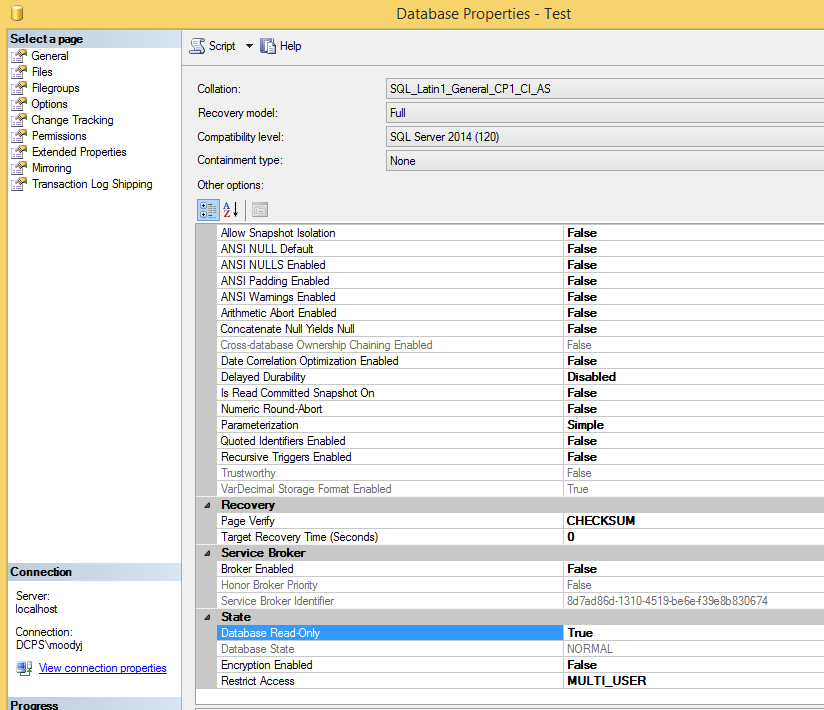
Read-Only Setting
5. Post Requisite – Set database to multi-user.
Set database back to multi-user. Be sure and change “YourDatabaseNameHere” to your actual database name.
alter database YourDatabaseNameHere

set multi_user

go
6. Optional Post Requisite – Confirm updates completed successfully
While not required, I highly recommend this step once you have completed all steps above. Run this command to confirm your database is in read_only mode and that you have set it back to multi_user
use master

go

select name, is_read_only, user_access_desc from sys.databases

go