
Over provisioning a solid state drive (SSD) will maximize its performance over its lifetime. This means you leave unallocated space for the SSD to use to extend the life of your SSD. Some SSD manufacturers provide software that will help to over provision such as Samsung’s Magician software, but you can easily do it yourself.
To over provision, you shrink your volume. I have seen recommendations from 10% up to 30%. I think 10% is enough for a standard workstation, buy your mileage may vary. The more you write to the drive, the larger percentage of unallocated space required for optimal SSD performance. The typical workstation writes the OS and software installation files once, then reads after. If you have a database server that is constantly writing to the drive, then set yours to 30%.
I recommend you over provision as soon as your drive is created. You use the disk management tool in Windows to shrink the volume. Here’s the step-by-step directions. In this example, I have a 256GB Samsung SSD Pro running Windows 8.1 Enterprise.
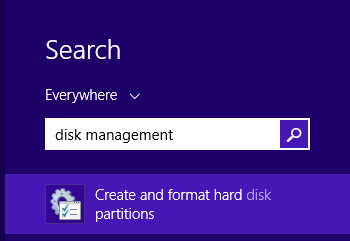
Go to the Windows start menu, then type “disk management.” Select “Create and format hard disk partitions.”
Open Disk Management
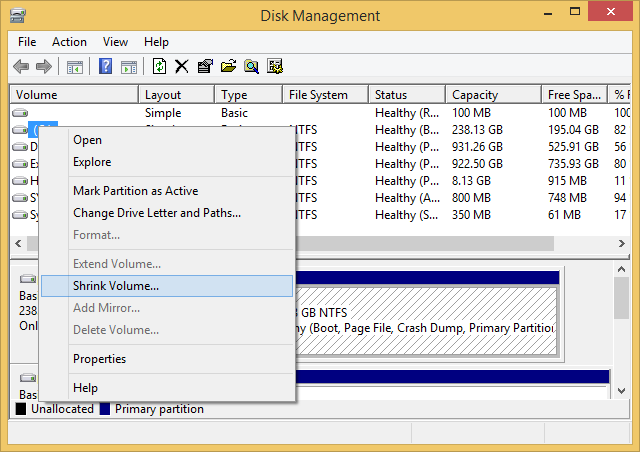
Disk Management should open on your Windows desktop. Right-click the volume for your SSD drive and select “Shrink Volume…”
Shrink Volume Menu
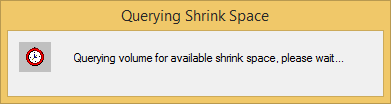
It will query the drive for the amount of available space to shrink.
Auto-query for Available Space
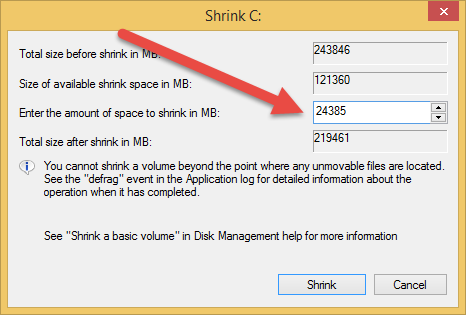
Type in a number that is somewhere between 10% and 30% of the total size of the drive. In this example, I have chosen 10%. Select “Shrink.”
Enter Amount to Shrink
If it shrunk correctly, you will see the unallocated space on your SSD.
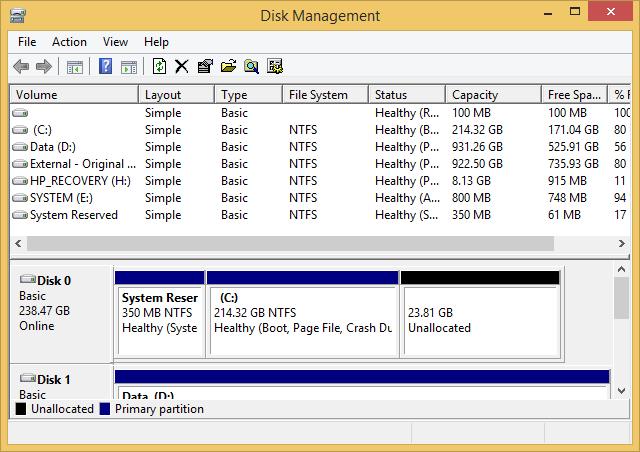
Unallocated Space Completed
Over time, the SSD will utilize this unallocated space to keep your data partition fast and healthy.