This is part two of a three-part series covering installation of Windows Server 2019 Active Directory in a Hyper-V virtual machine. Part one covers configuring the virtual machine. Part two covers installing Windows Server. Part three covers installing Active Directory.
Connect to your virtual machine
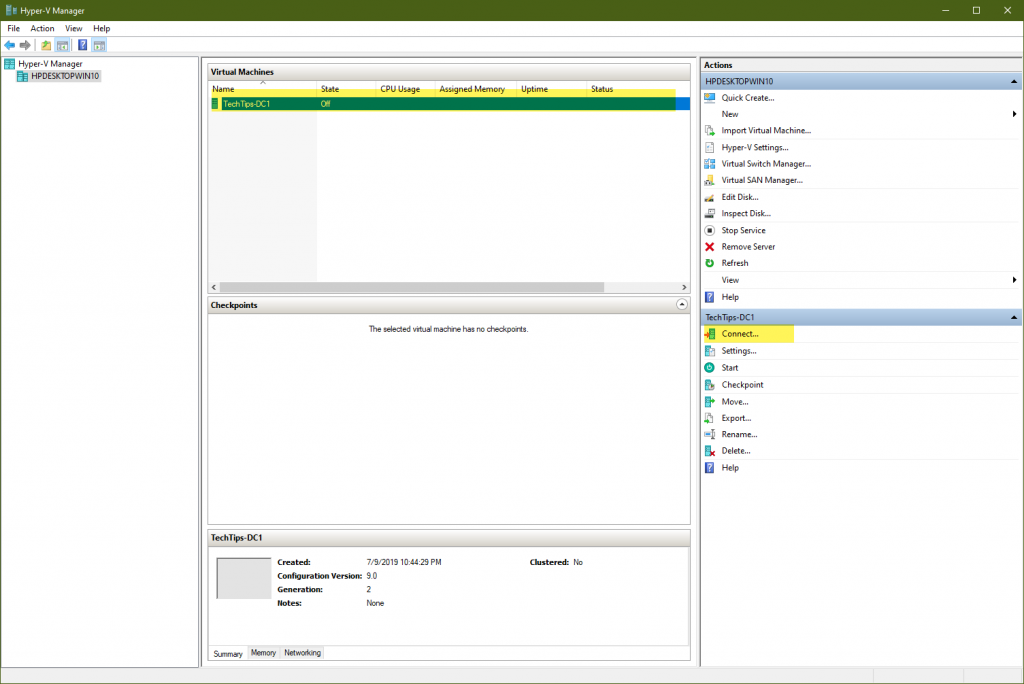
Start your virtual machine
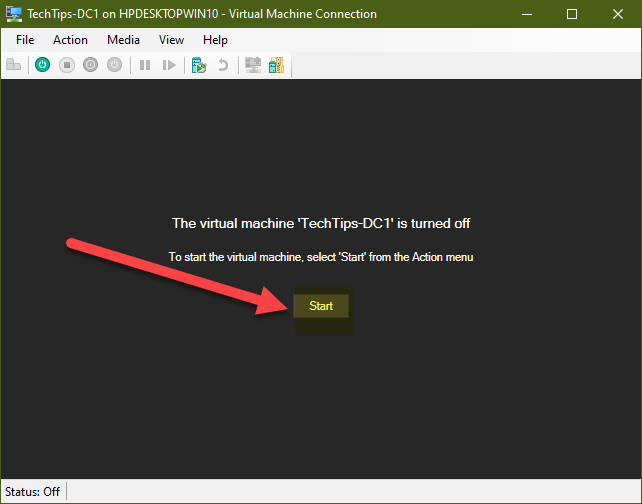
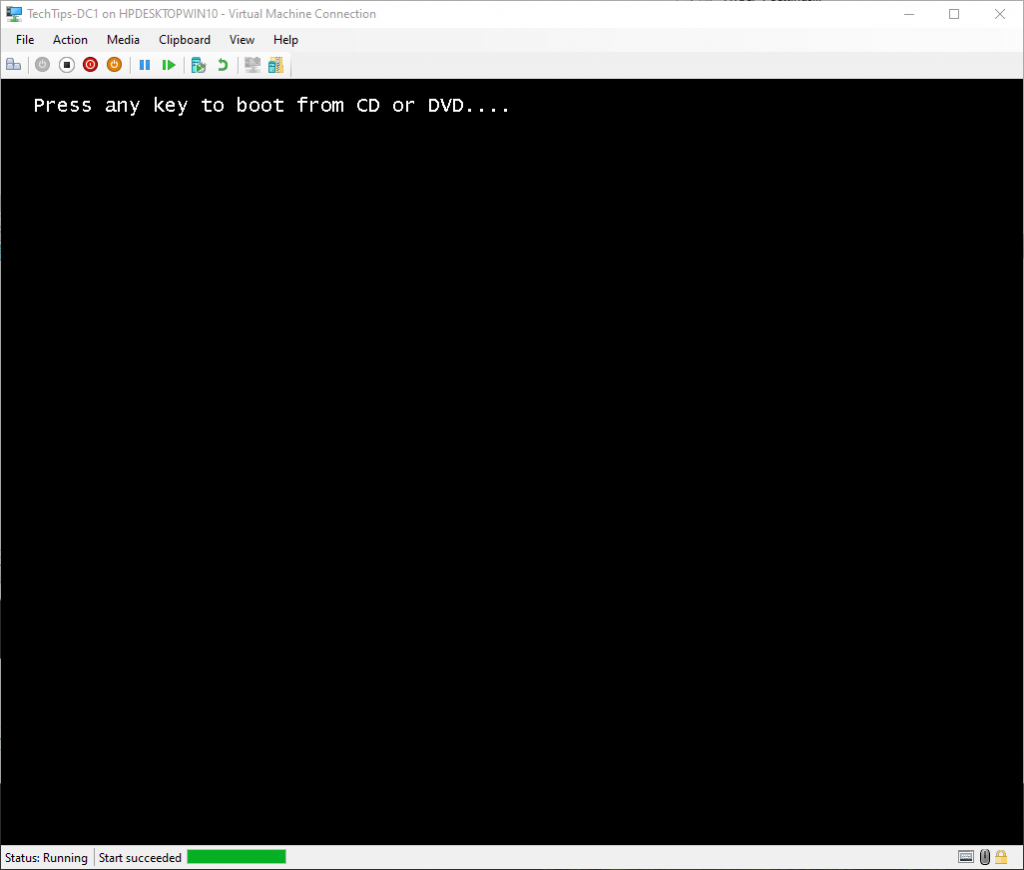
Be ready. You will need to press a key to have it boot from your .iso when it displays, “Press any key to boot from CD or DVD…” If you miss this, you can turn off the VM and start it again.
Confirm your regional options, then select Next

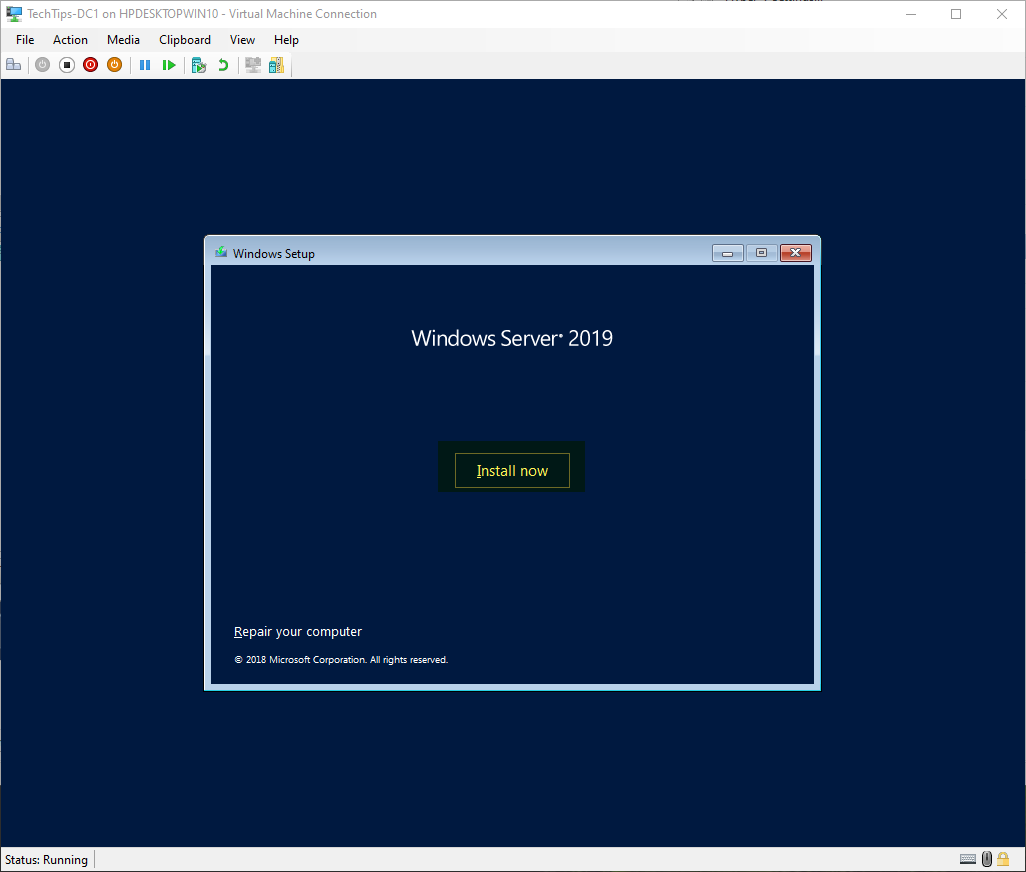
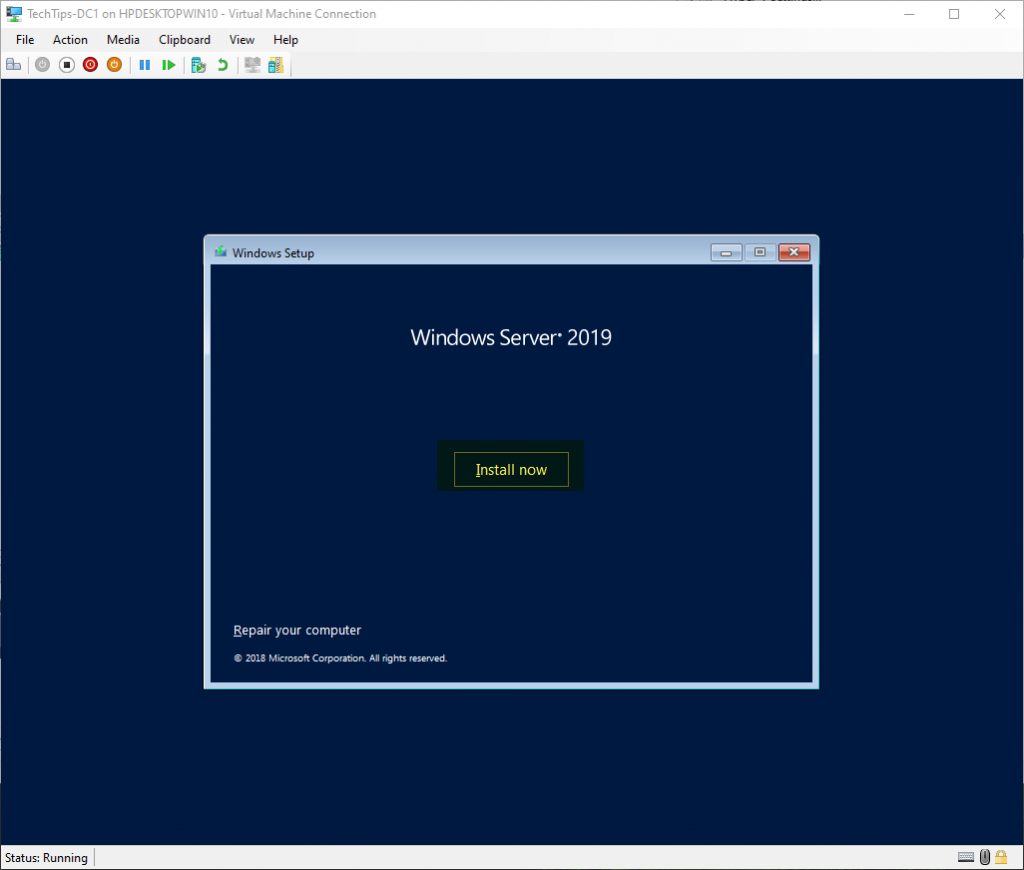
Begin installation by selecting, “Install now”
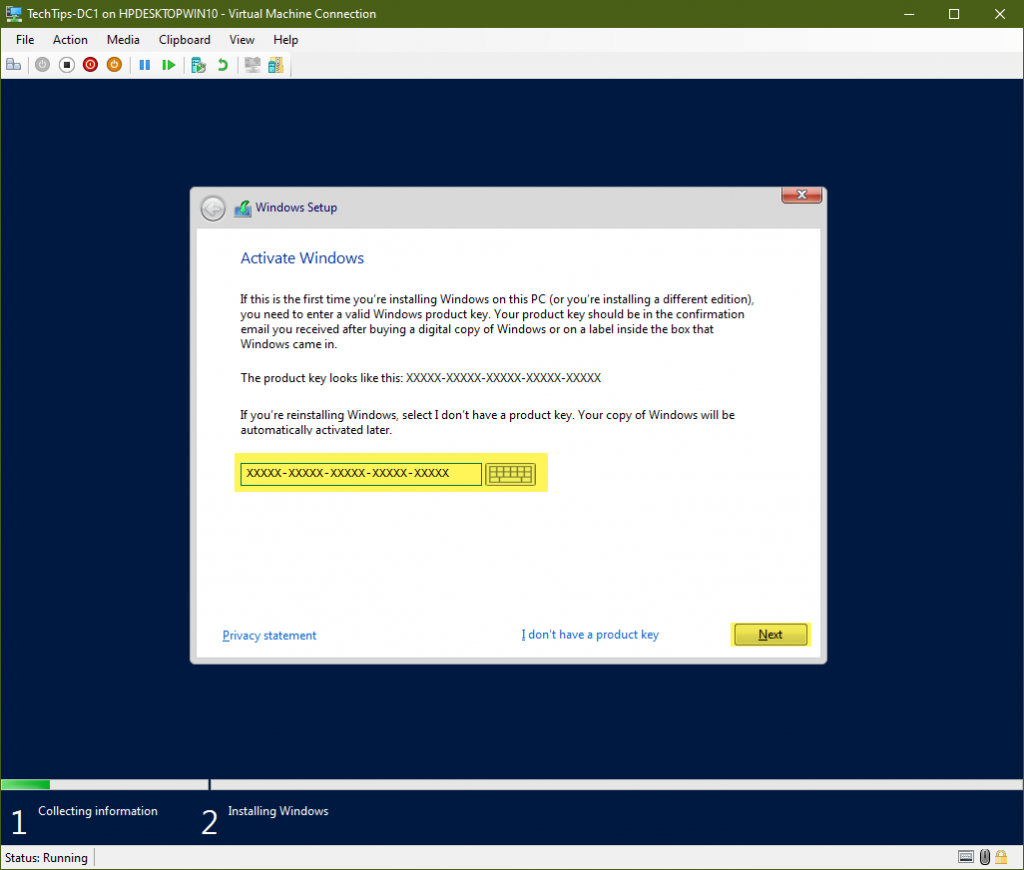
Enter your product key to activate windows OR select, “I don’t have a product key” to activate later. Since this is a demo installation, I am not going to use an activation. The screenshot below shows where you would enter your key.
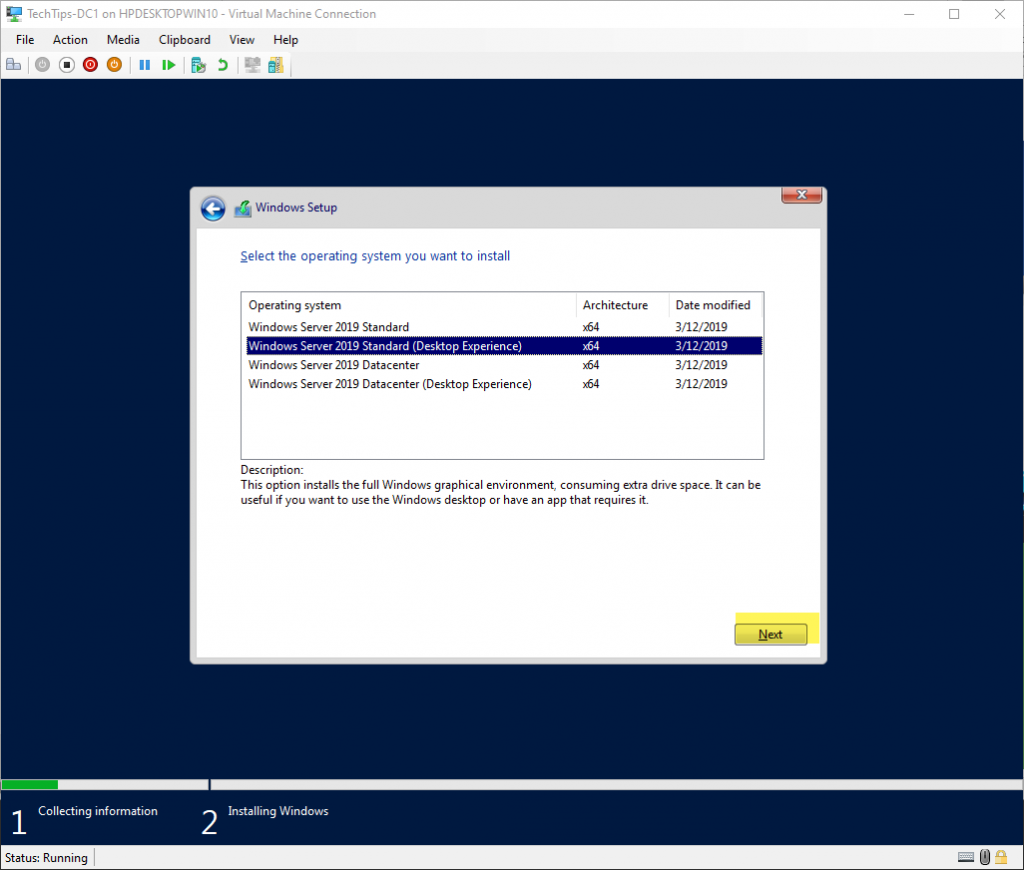
Choose your version and experience. Desktop Experience gives you the GUI, and the other gives you the core. Active Directory runs fine with Standard edition. Depending on your storage and Hyper-V setup, you may need to use Datacenter edition. For this example, I will use Windows Server 2019 Standard with the Desktop Experience.
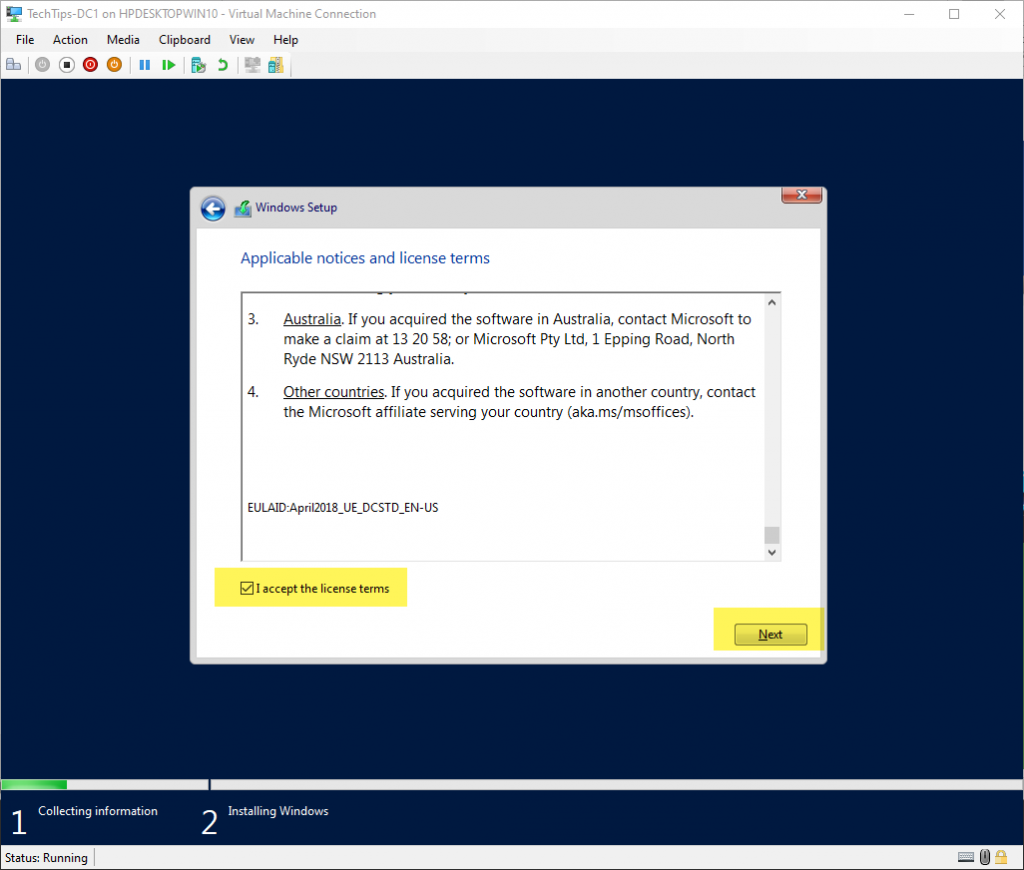
Read and accept the license terms.
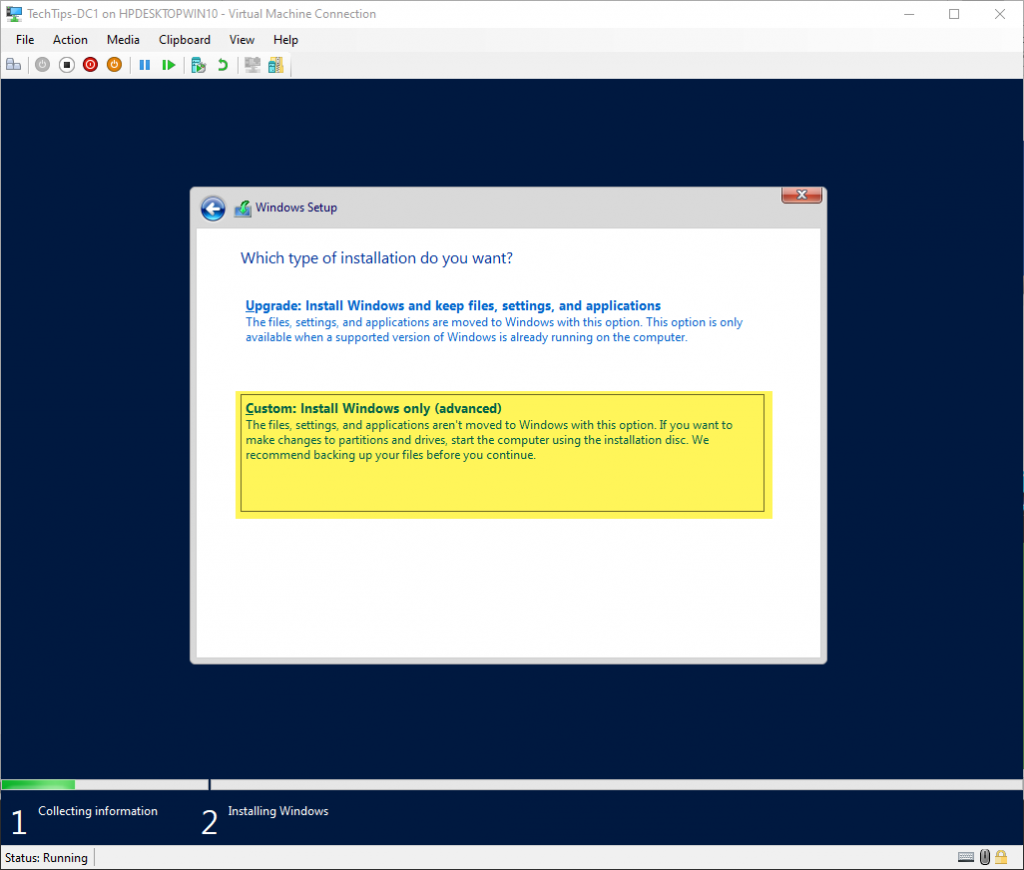
Choose Custom: Install Windows only (advanced)
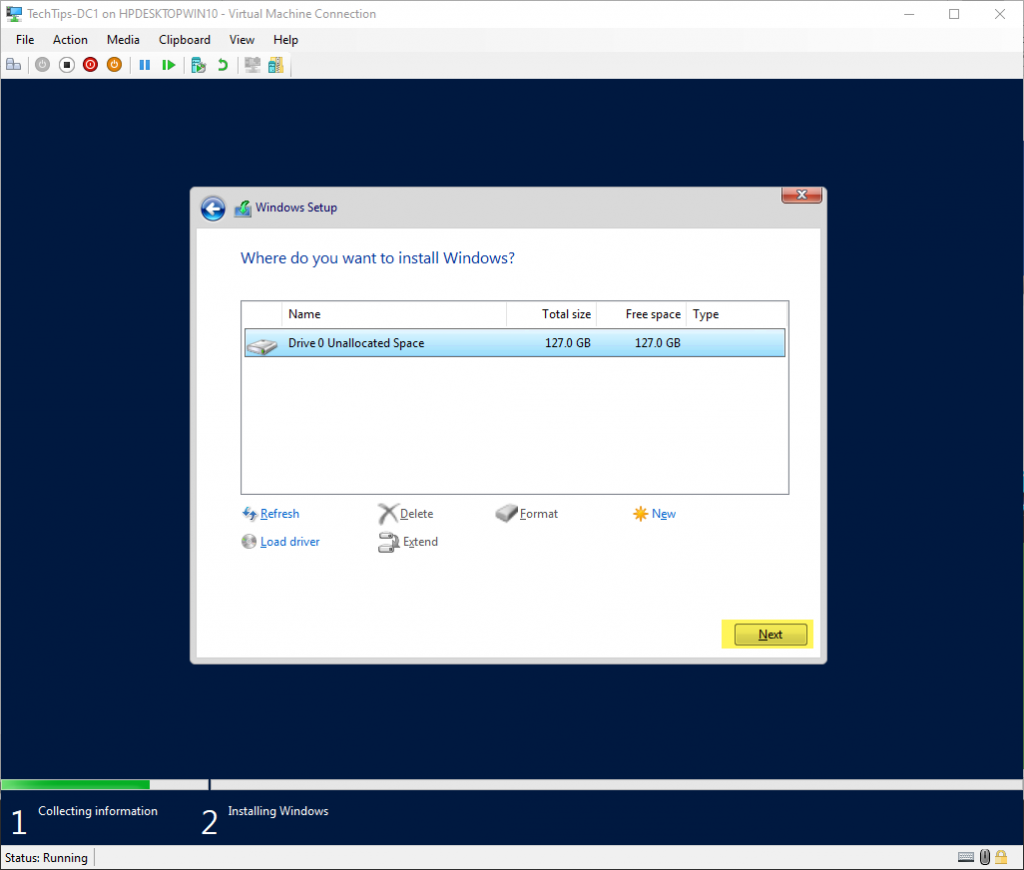
Select the storage you created for installation when setting up the virtual machine. In this case, it is Drive 0 Unallocated Space.
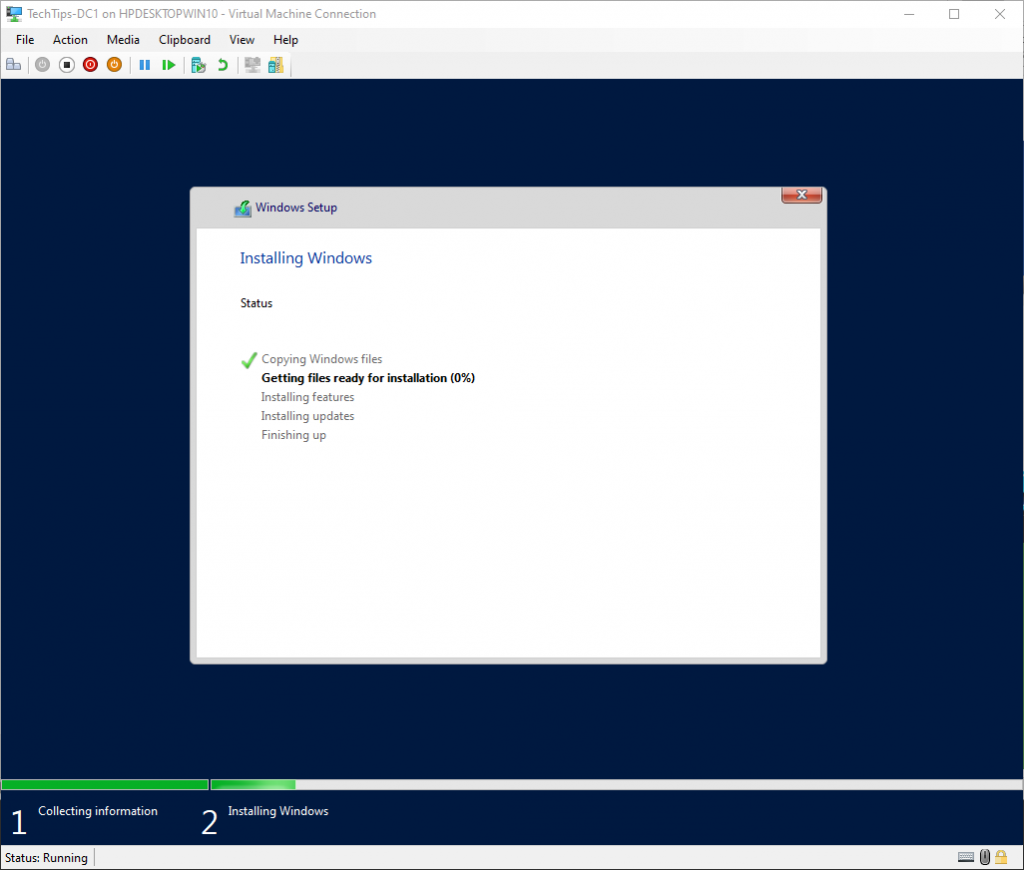
Wait while windows installs
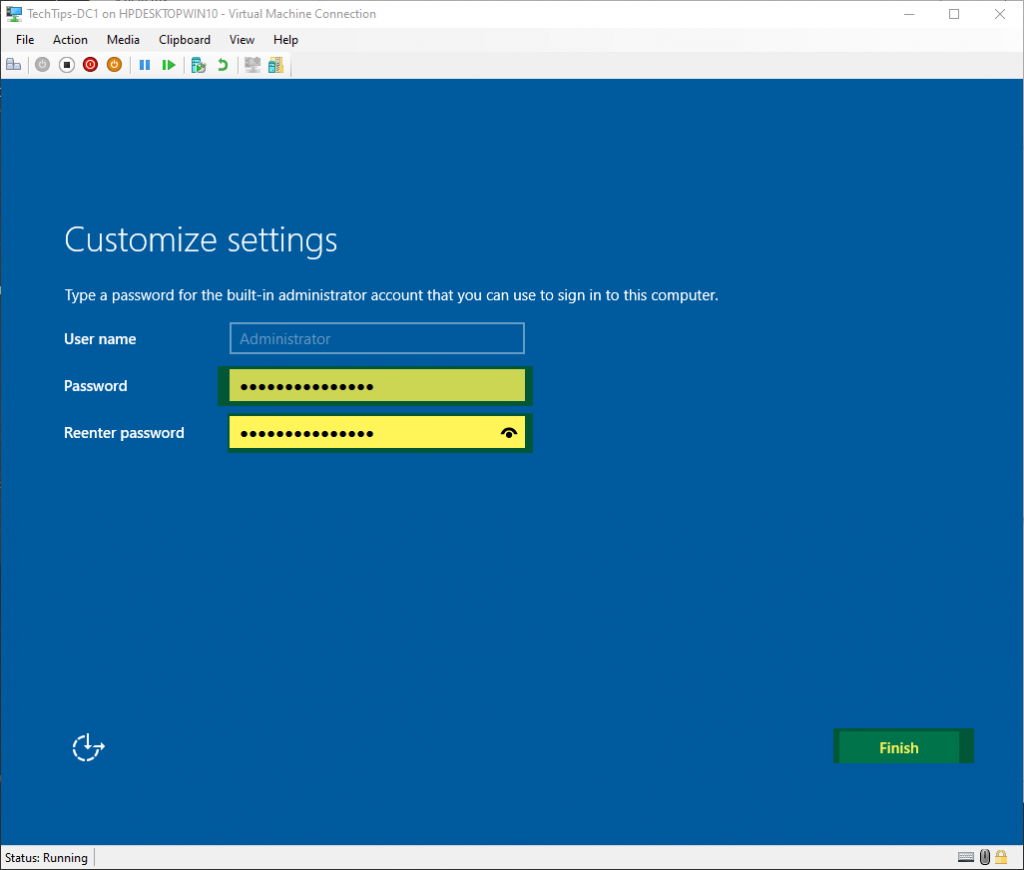
Enter a strong password for your Administrator account. It must meet the default complexity requirements:
- Not contain the user’s account name or more than two consecutive characters from the user’s full name
- Be at least eight (8) characters in length
- Contain characters from three (3) of the following four (4) categories:
- English uppercase letters (A through Z)
- English lowercase letters (a through z)
- Numerical digits (0 through 9)
- Non-alphabetic characters (eg. !, @, #, $, %)
Set your display options and connect
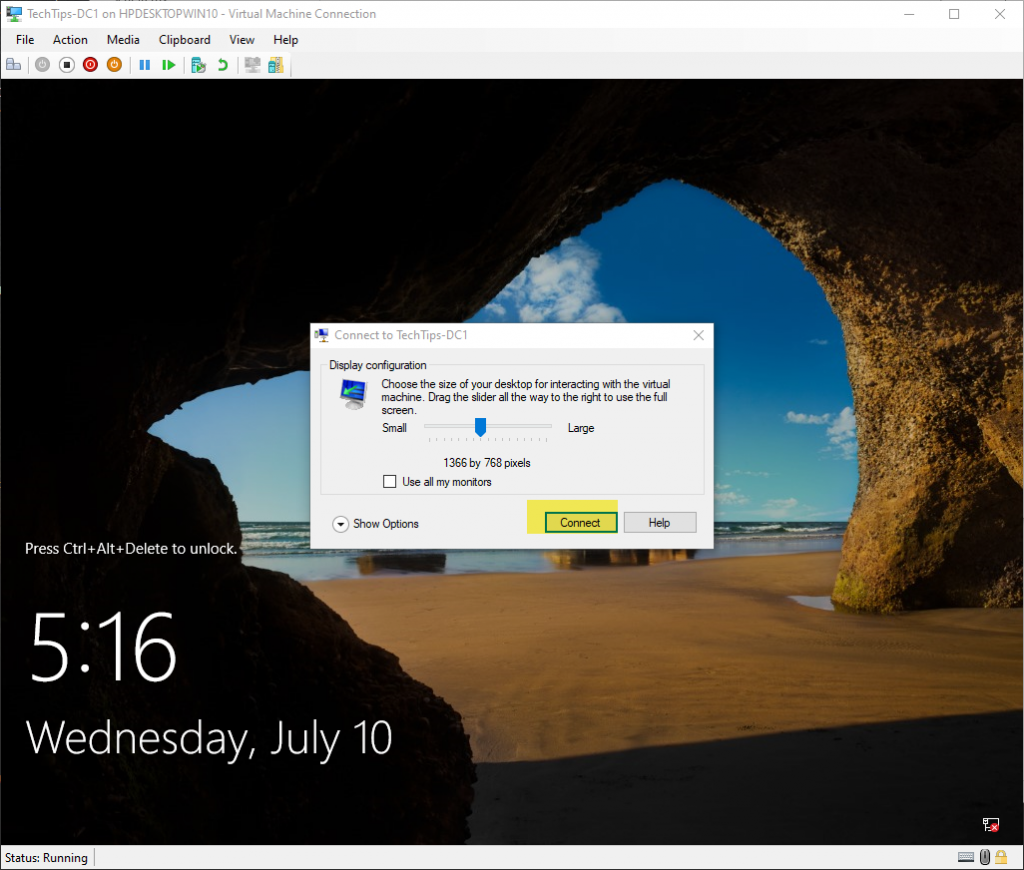
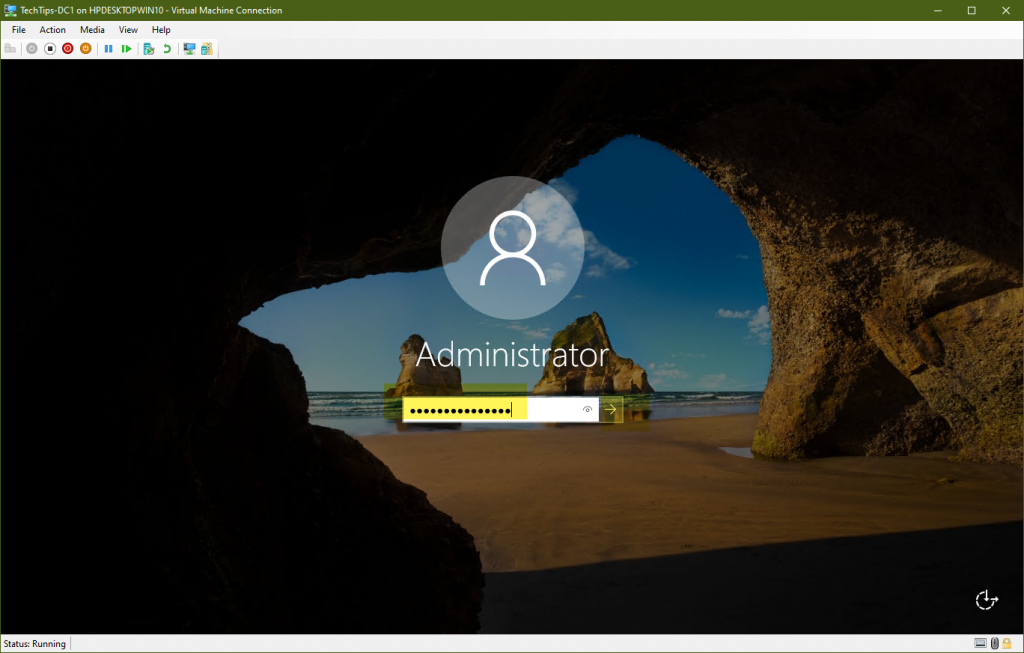
Login with the local Administrator account