
This is part one of a three-part series covering installation of Windows Server Technical Preview with Active Directory in a Hyper-V virtual machine. Part one covers configuring the virtual machine. Part two covers installing Windows Server. Part three covers installing Active Directory.
Part One: Configure virtual machine in Hyper-V
Launch Hyper-V and create a new Hyper-V Host Virtual Machine.
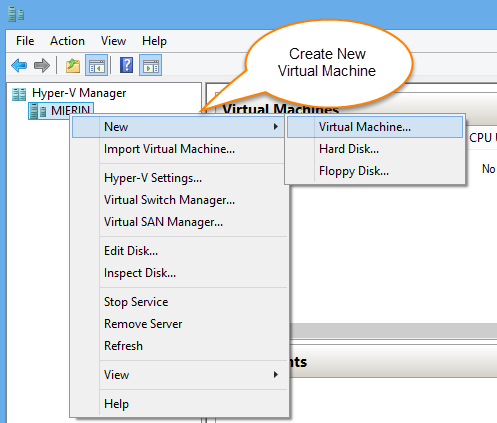
Create New Hyper-V
Specify the name and location of your Hyper-V disk. Make it easy on yourself by giving it a descriptive name. This should be the same name you are going to name the server when you gen it. In my example below, this is the first server in my Windows Server Technical Preview domain, so it will be the domain controller.
I have already setup a directory as a default for storing all my Hyper-V virtual machines. You can do the same, or else leave it in the default location.
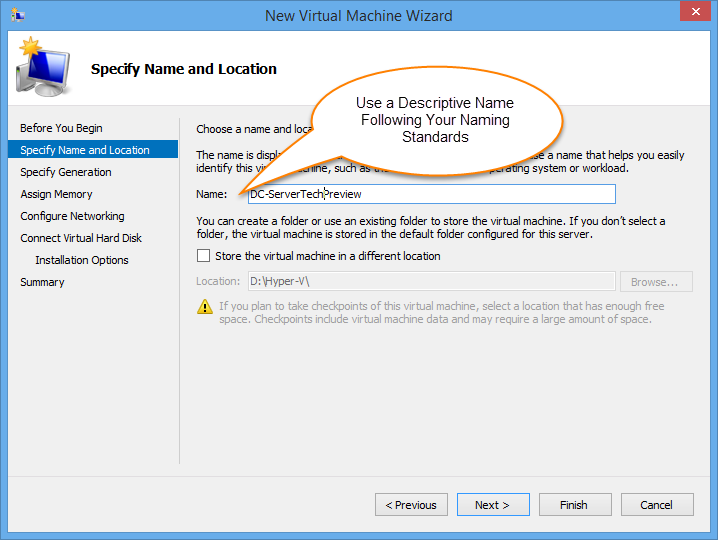
Hyper-V Name and Location
Use Generation 2 unless you have a reason not to. This will provide you full Hyper-V functionality.
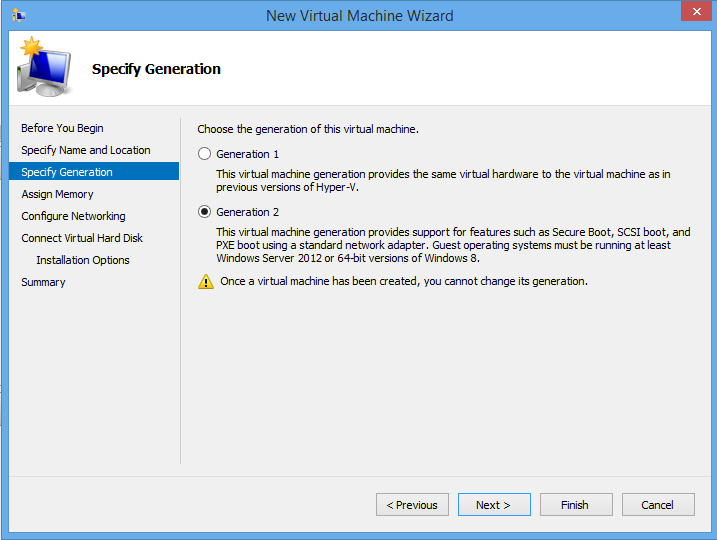
Select Generation 2
Change the memory settings as appropriate for your environment. In my case, this is a test environment, so I am using a minimum amount of memory. Startup memory is set to 1024 MB and Dynamic Memory is turned on. Once the new virtual machine wizard completes, this setting will need to be edited to provide minimum and maximum memory settings.
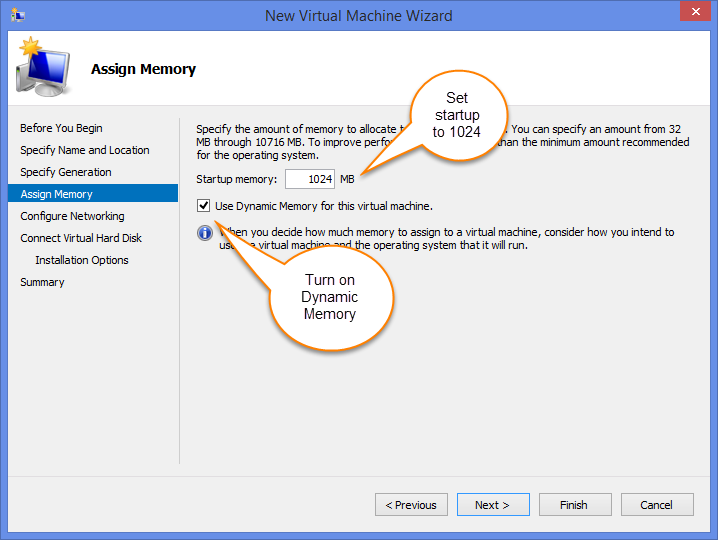
Set Startup and Dynamic Memory
Select your network connection.
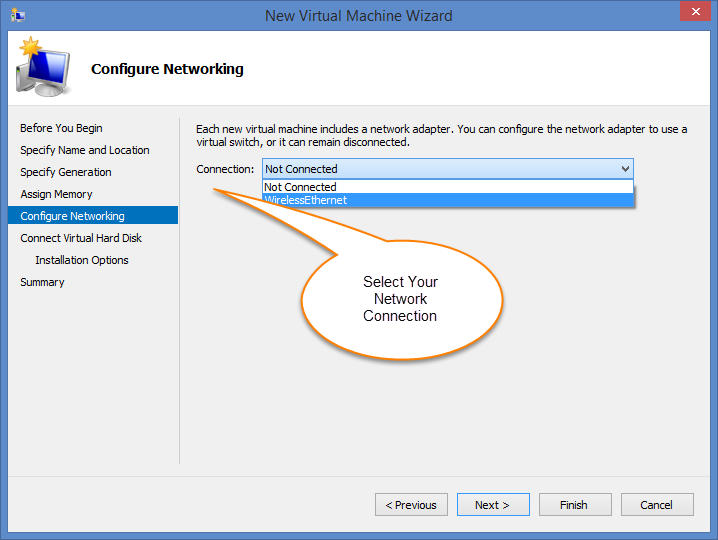
Select Network Connection for Hyper-V
Select, “Create a virtual hard disk,” and set the appropriate settings. I reduced the default disk size allowed on the dynamically expanding disk from 127 GB to 60 GB since this is a test server.
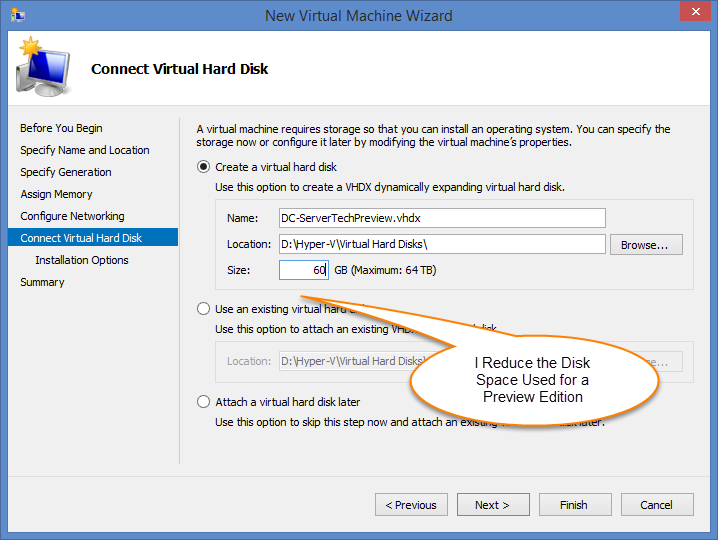
Hyper-V Disk Settings
Choose “Browse…” and select your installation media.

Select Windows Server Technical Preview Media
Verify the summary screen and select, “Finish.”
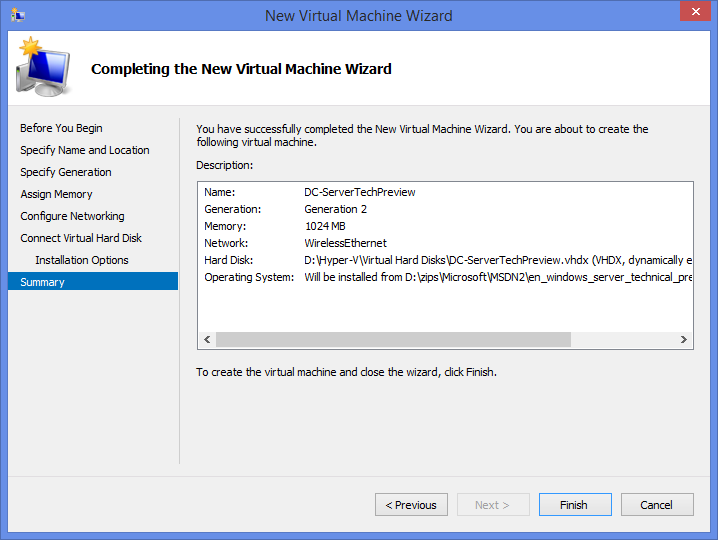
View Installation Summary
Edit the virtual machine to change the dynamic memory and processor settings.
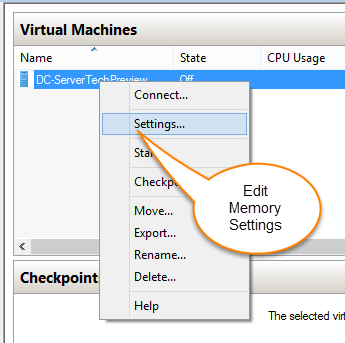
Edit Virtual Machine Settings
Change the minimum and maximum settings as appropriate for your environment. For my test environment, I am setting 1024 MB minimum and 4096 MB maximum for the domain controller role.
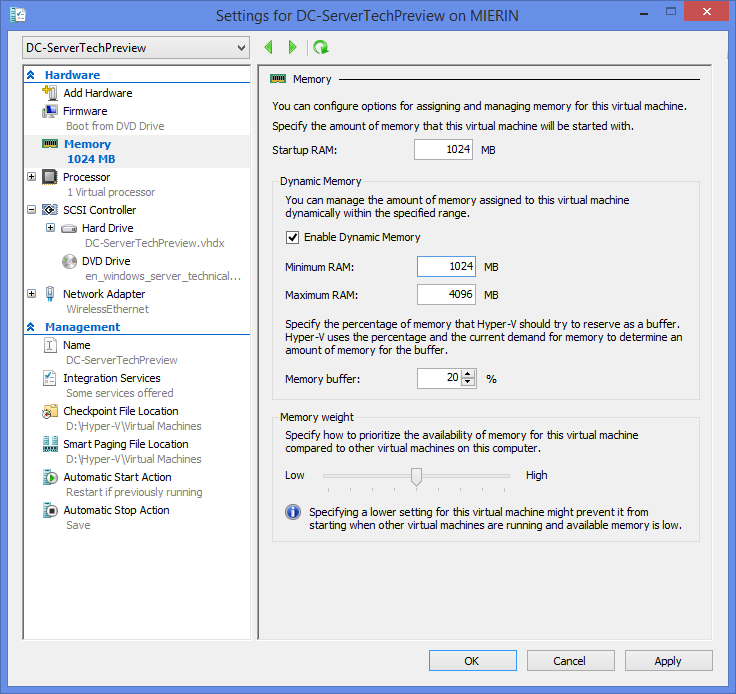
Hyper-V Dynamic Memory Settings
Change the number of processors to two. I recommend that every Hyper-V guest be giving two processors unless there is a requirement to provide more than two.
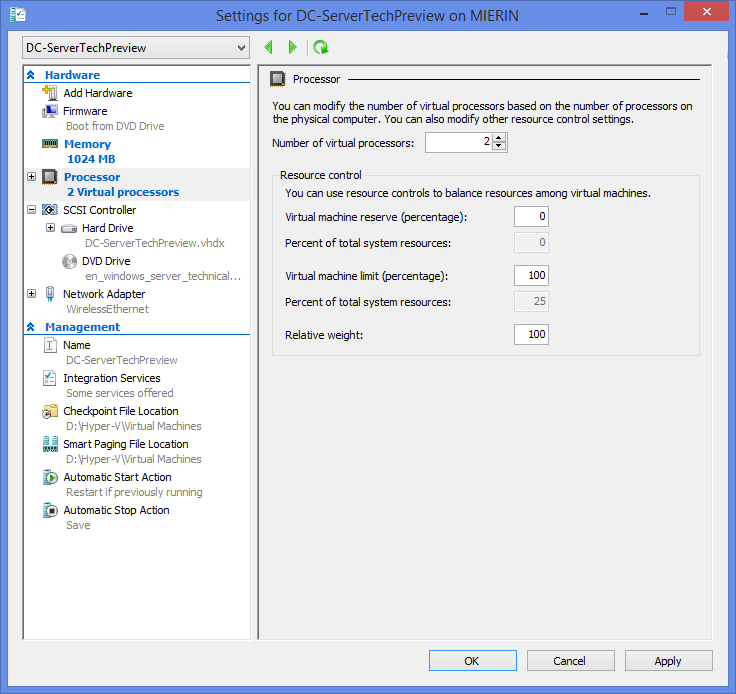
Hyper-V Processor Settings
At this point, you can begin the installation of Windows. Please continue to part two of this series.