
This is part two of a three-part series covering installation of Windows Server Technical Preview with Active Directory in a Hyper-V virtual machine. Part one covers configuring the virtual machine. Part two covers installing Windows Server. Part three covers installing Active Directory.
Part Two: Install Windows Server Technical Preview in Hyper-V virtual machine
Launch Hyper-V. In part one we set the DVD to the ISO file for windows installation. Confirm your Windows Server Technical Preview installation media is set as your DVD drive. In my example, it is under Settings / SCSI Controller / DVD Drive / Image File. Yours may be slightly different if you are using a different type of controller or you are using physical media.
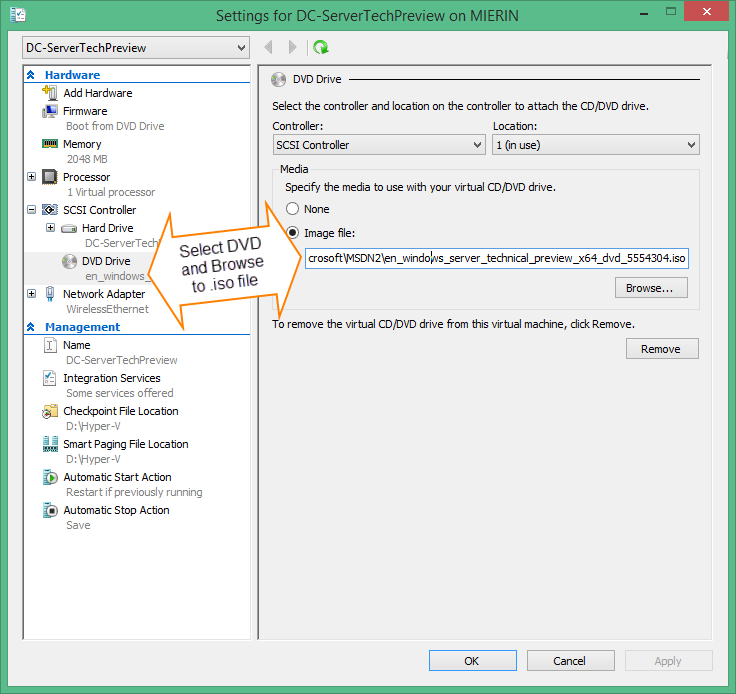
Confirm Installation Media in Virtual DVD
connect to your virtual machine.
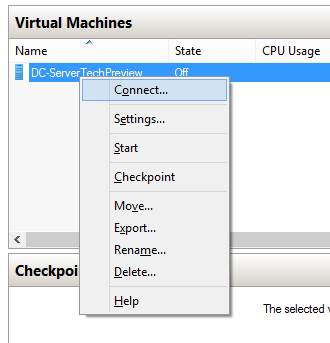
Connect to Hyper-V
Start your Virtual Machine
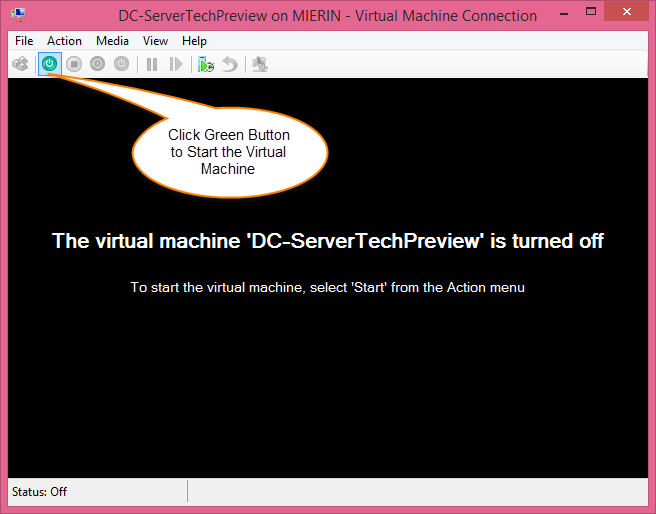
Start Virtual Machine
Press a key to boot from your virtual DVD. Windows Setup will begin.
Select Language / Time / Keyboard, then Next

Server Installation Language, Time, and Keyboard Settings
Follow the prompts to install with a GUI.
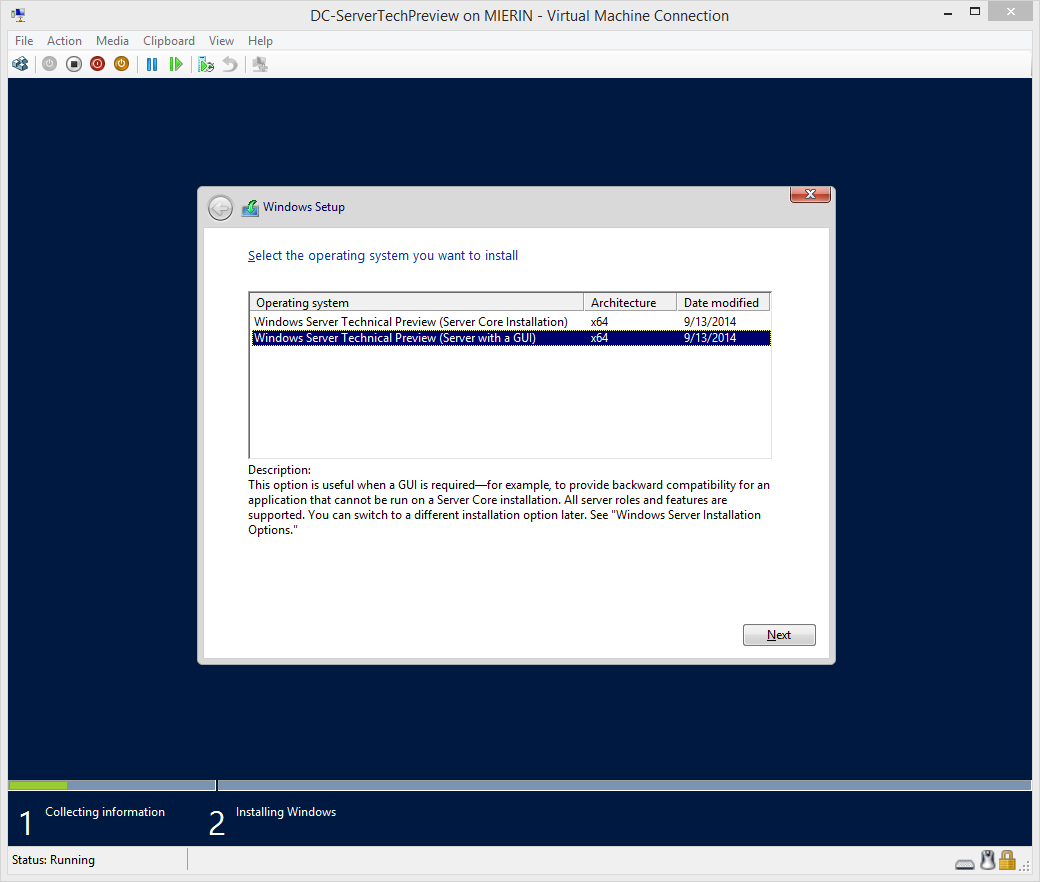
Install Server with GUI
Accept the license and select Custom Installation. Choose to install on the unallocated space you created in part one.
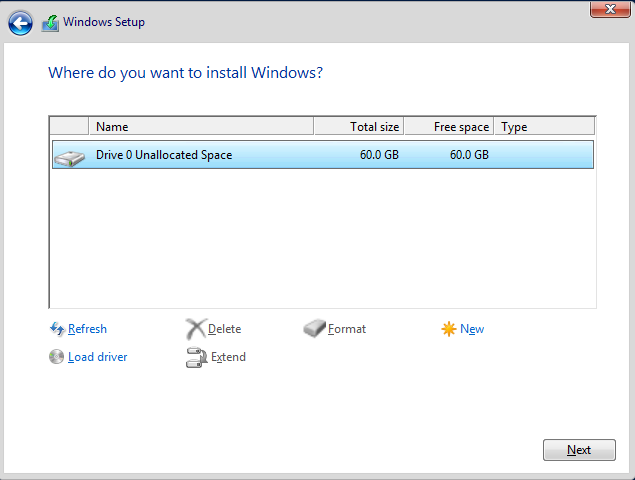
Install in Unallocated Space
Windows installation will begin. After setup reboots, enter a complex password for the Administrator account and select finish.
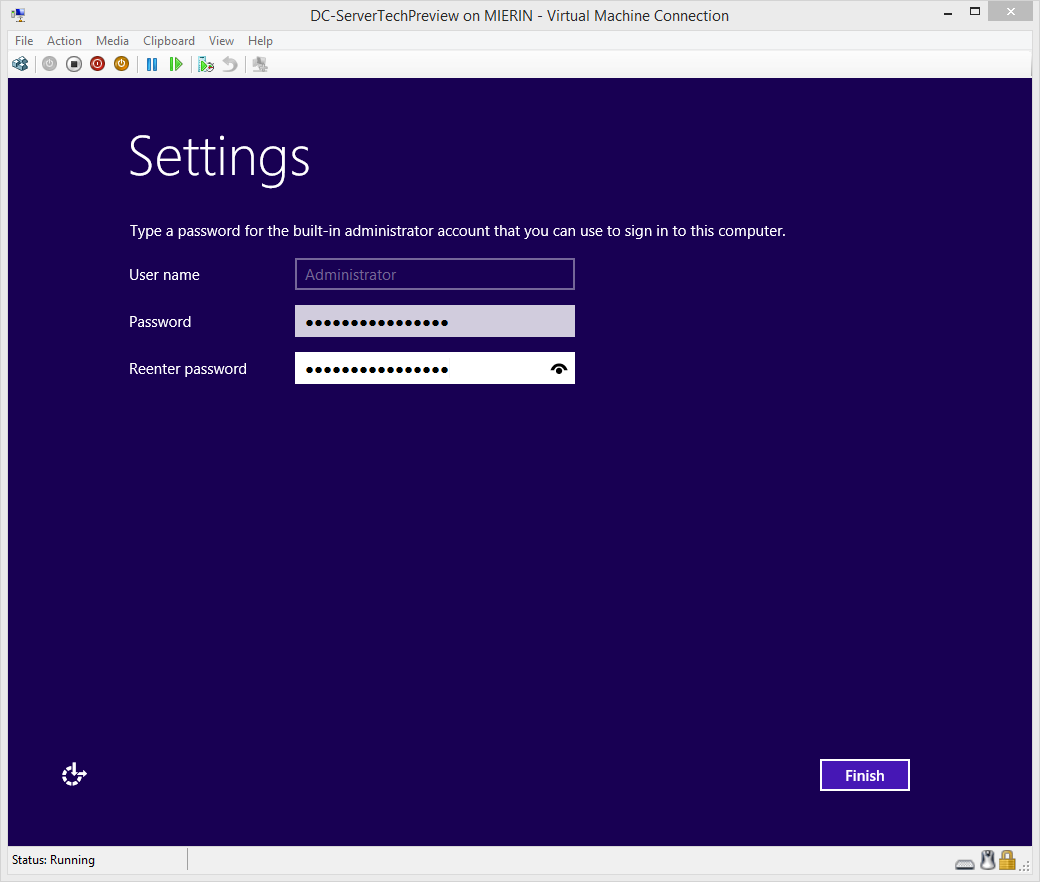
Set Complex Administrator Password
You can now sign in to your new server. Start by selecting the Ctrl+Alt+Delete Hyper-V menu item just under the word “File” on the menu.

Windows Server Technical Preview Login Screen
Enter your complex Administrator password.
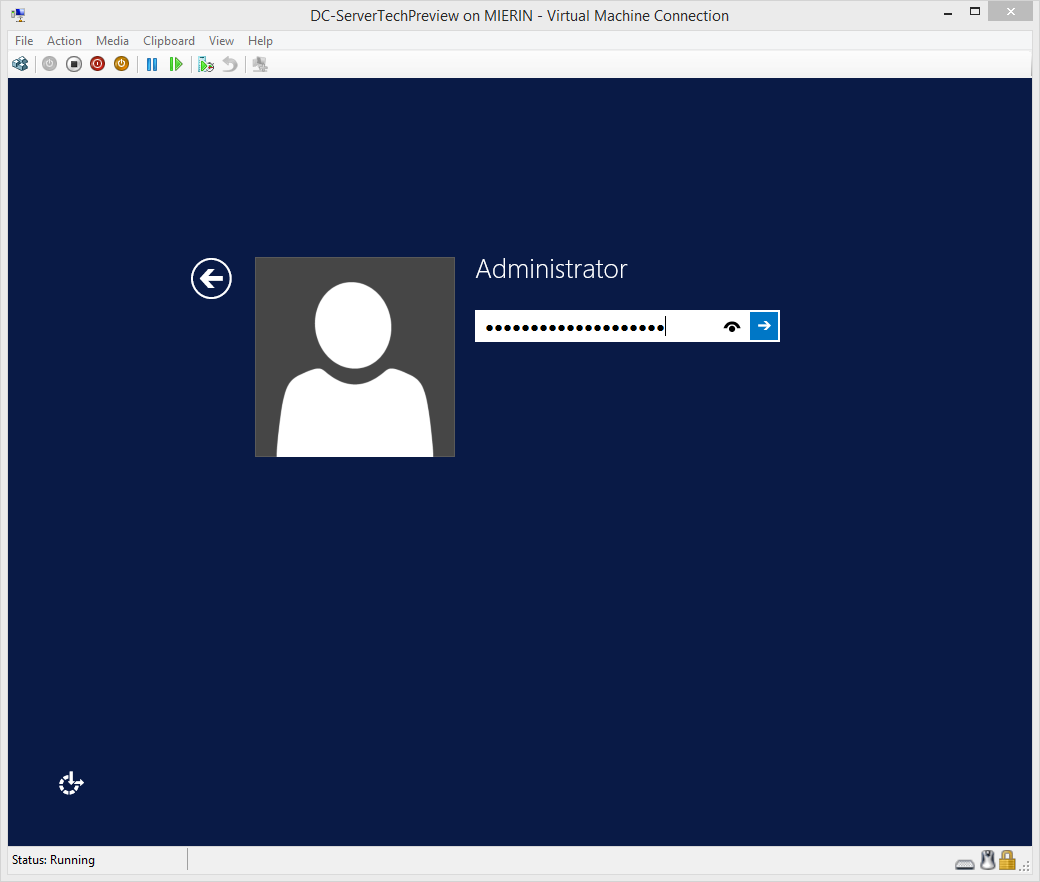
Enter Complex Administrator Password
Windows will sign you in, build your Administrator profile, and ask you about what to connect to on your network. You should always answer, “Yes,” unless you will be mobile with this virtual machine and connecting to public networks such as the kind you find at restaurants and malls. This is a stationary active directory test lab, so I will select, “Yes.”
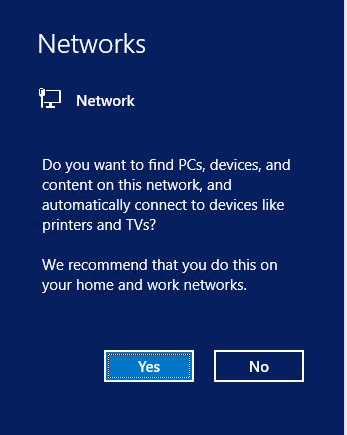
Select “Yes” for work network
Installation is now complete. Windows will bring up the server manager window so you can start configuring your new server.
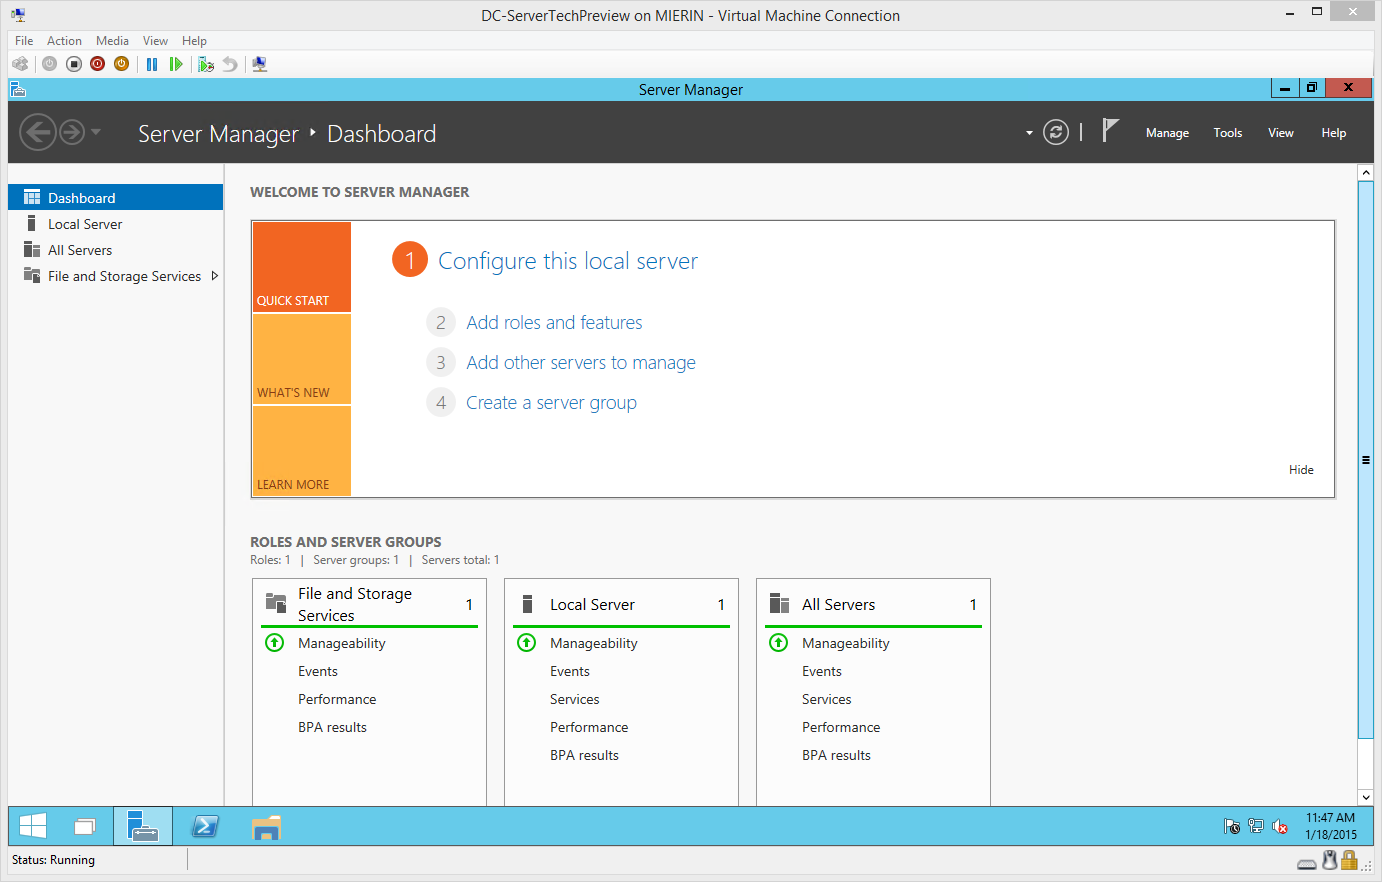
Installation Complete
This series continues with part three installing Active Directory on Windows Server Technical Preview.
Please continue to part three of this series.